The List View
So far you've been working with items in Document View — the default readable layout where items appear top-to-bottom. That's great for editing one item at a time. When you need to see many items at once, compare attribute values across them, or make bulk changes, you'll switch to List View.
A View is a separate thing: a saved configuration of filters, sort, columns, and display mode that you can apply to any compatible document. Views live in their own area of the Elements Panel.
Document View vs List View
Items inside a document can be displayed two ways:
- Document View — the default. Items shown top-to-bottom in a formatted, readable layout. Each item shows its name, description, attribute summary, and inline approval controls. Best for reading and editing one item at a time.
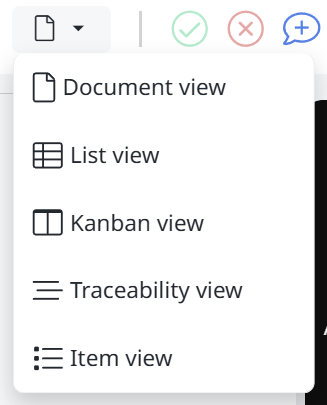
- List View — items shown as a grid. Each item is a row; attributes appear as columns you can sort, resize, and reorder. Best for bulk operations, attribute comparisons, and quick scanning across many items.
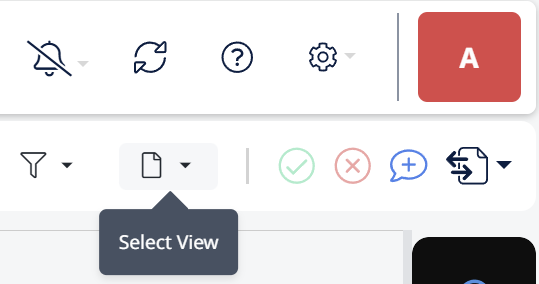
You switch between modes using the view toggle in the document toolbar at the top of Document View.
Working in List View
List View turns items into a spreadsheet-like grid. From here:
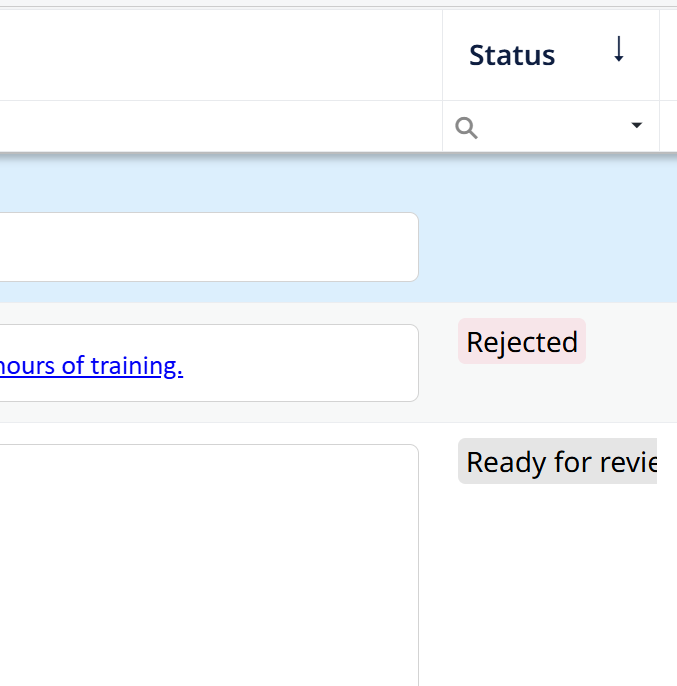
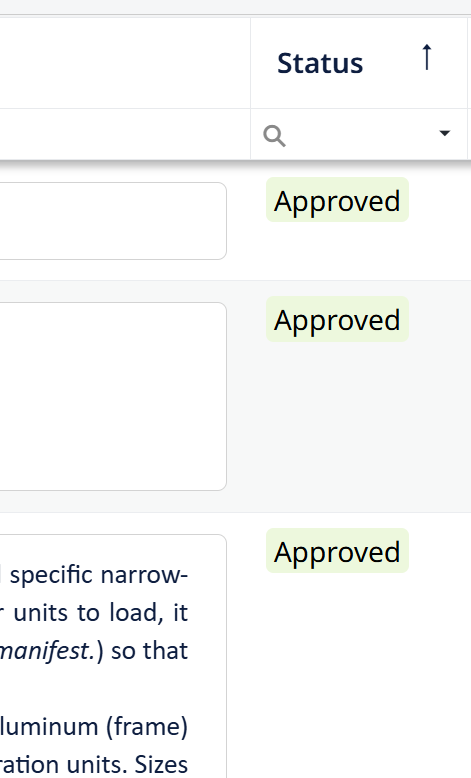
- Sort by any column — click the column header. Click again to reverse the sort direction.
- Resize columns by dragging the column borders.
- Reorder columns by dragging headers to new positions.
- Edit attribute values inline — click any cell to edit it. Standard check-in / check-out rules apply: you need to have the item checked out to modify its values. Items checked out by you show their green color bar across the row.
- Select multiple items by holding Shift or Ctrl while clicking. Once multiple items are selected, batch operations like check-in or delete apply to the whole selection.
- Choose which columns appear via the column picker in the toolbar. Any attribute defined for the document's items can be shown or hidden.
List View is especially useful when you want to fill in the same attribute across many items in one sitting — for example, setting Priority on 30 requirements, or marking a column of test results.
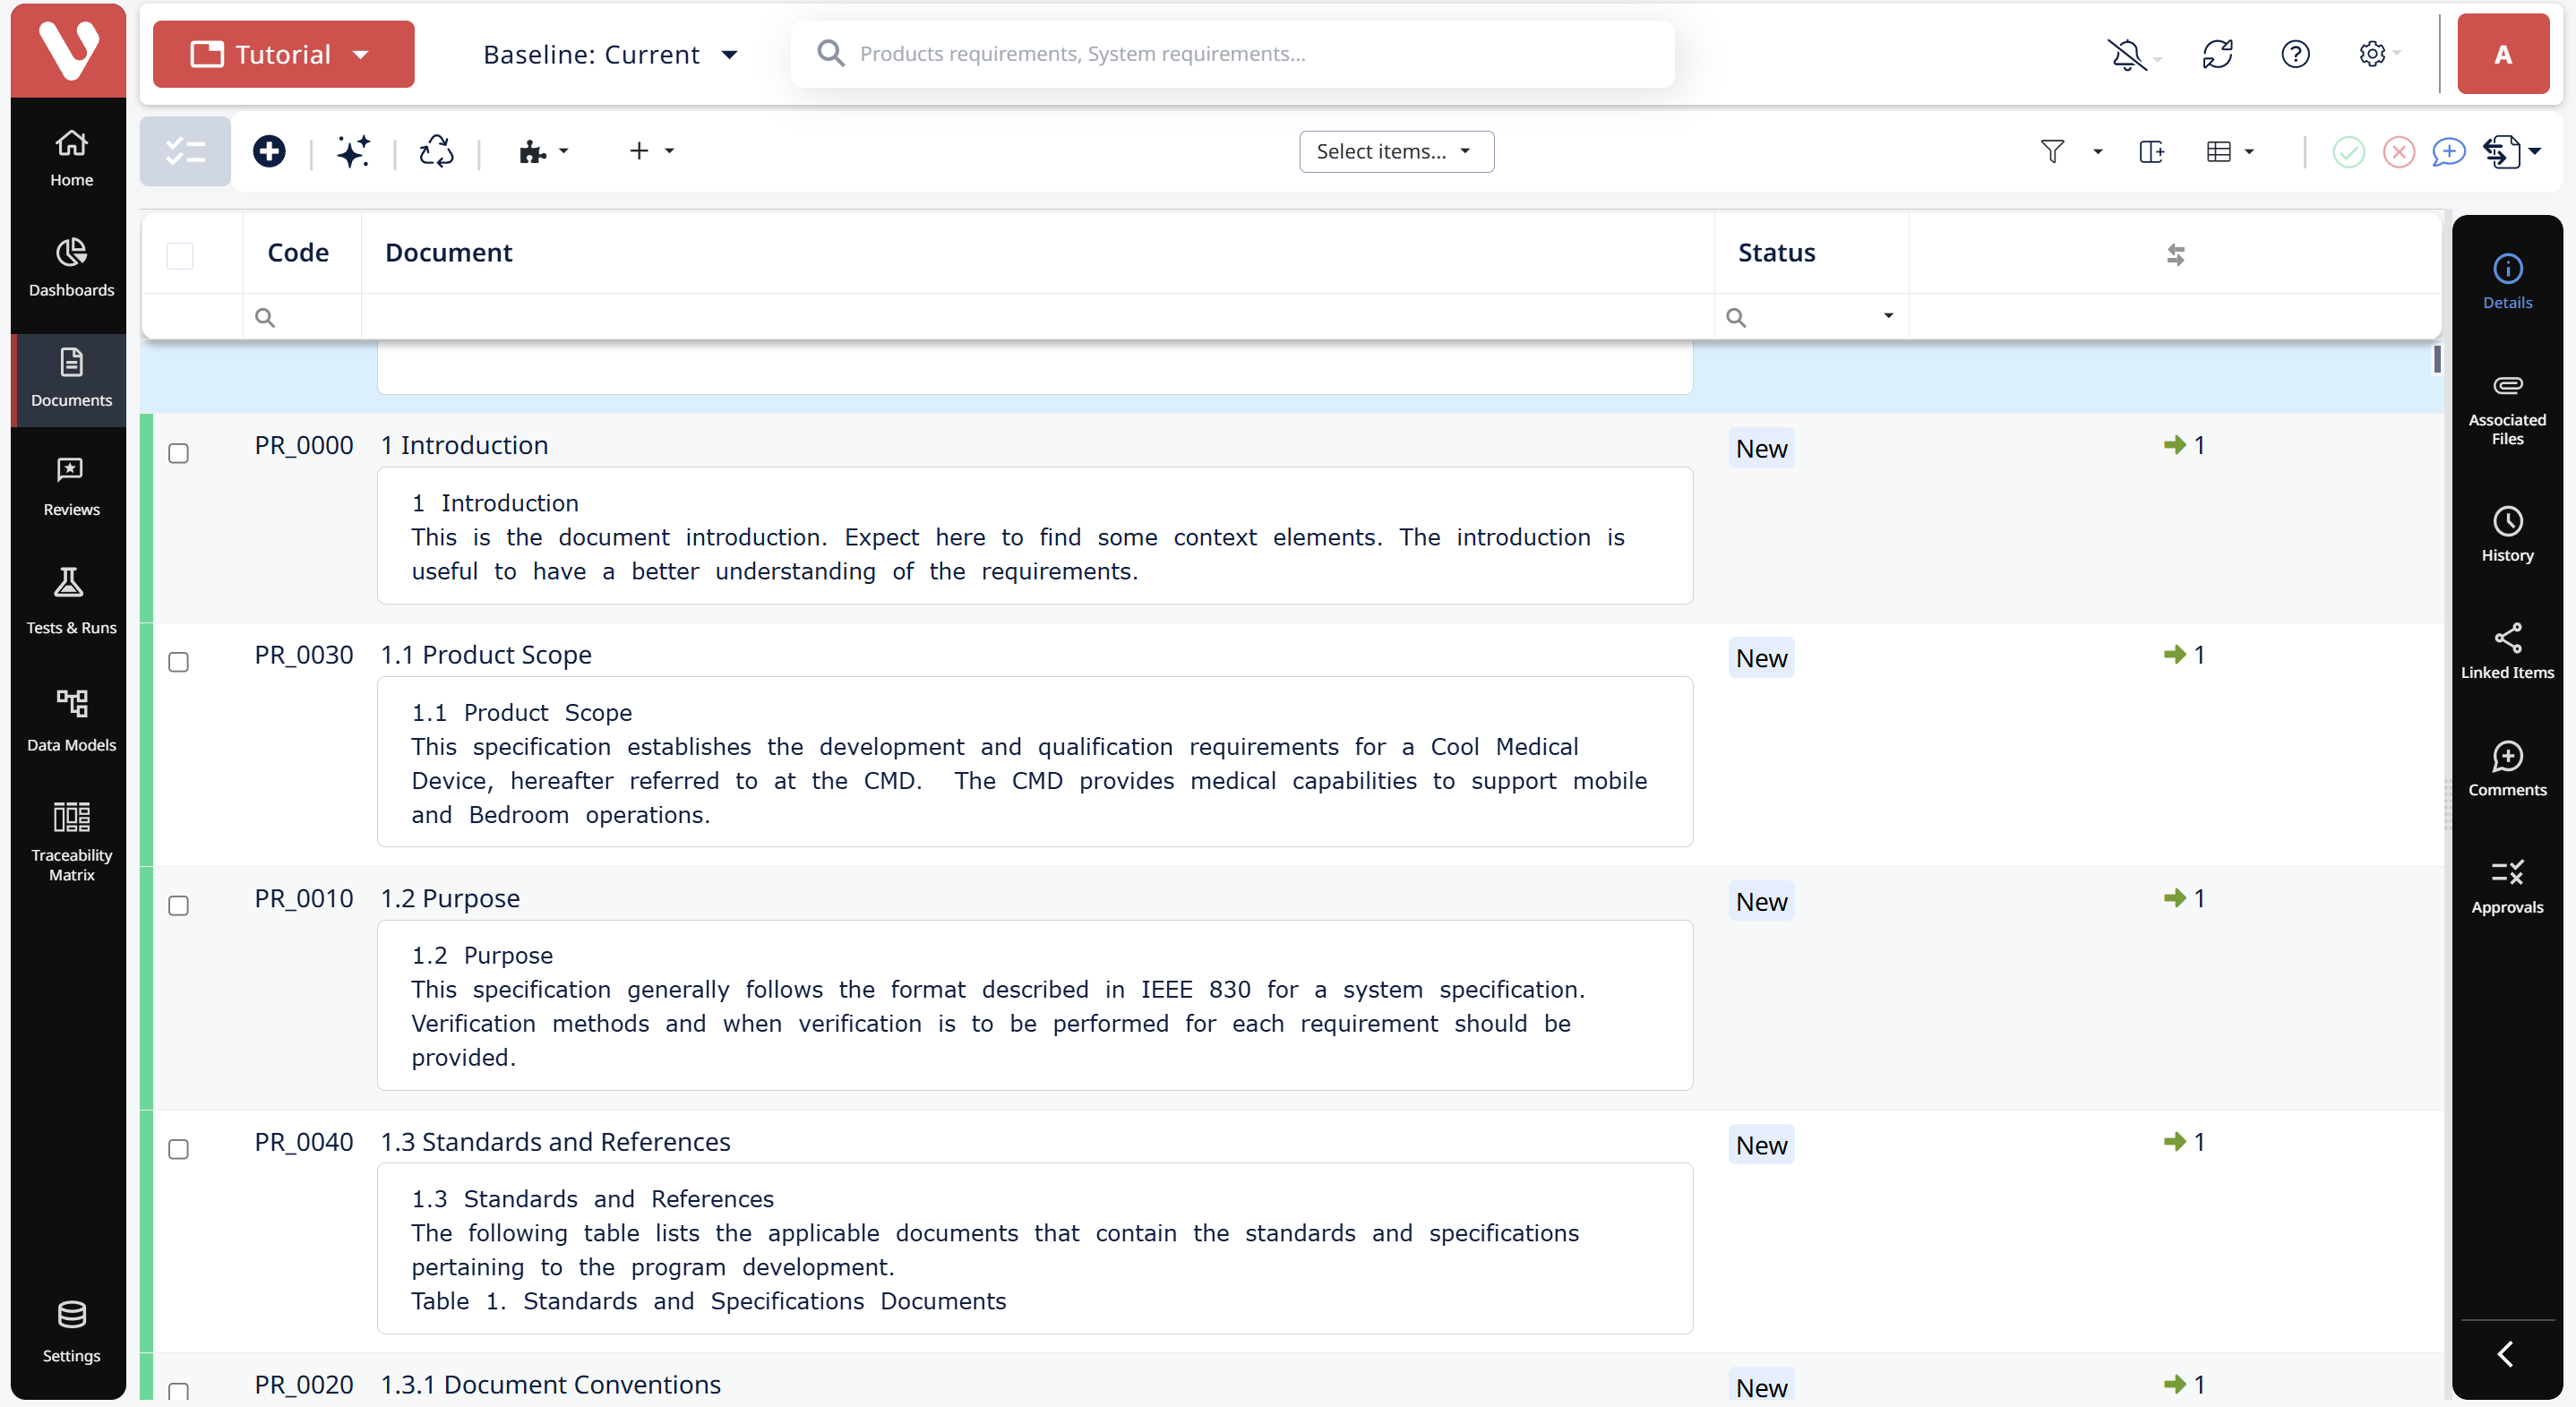
Choose your columns
Any attribute, including your custom attributes, can be shown as a column.
- Click the Column Selector icon in the top-right corner to pick which attributes to display.
- Drag and drop a column heading to move it where you want it.
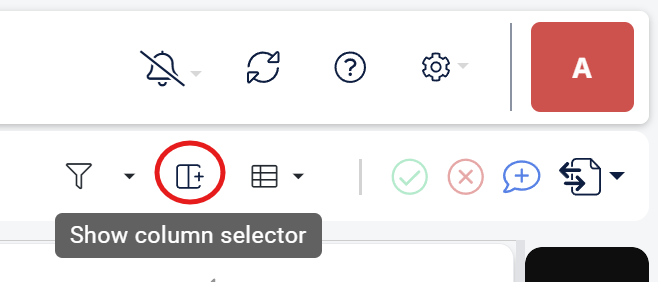
Only attributes relevant to the items in the document are available to choose.
Filter and sort
- Filter — turn on the filter row and narrow the list by keyword (text attributes) or by category (pick values from a drop-down for enumerated attributes like Status or Priority).
- Sort — right-click a column heading and choose Sort Ascending or Descending. You can sort by several columns at once.
This arrangement is temporary — it lasts for your current session. To keep a column, filter, and sort setup so you (or your team) can reuse it, read the next article: Create and save a View.