Create custom attributes
Custom attributes let you capture the information your team actually needs to track on items and documents — priority, verification method, safety classification, release, or anything else beyond the built-in fields. Keep the list short: the fewer attributes you add, the more reliably people fill them in.
Open the Custom Attributes manager
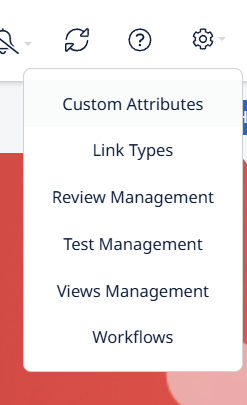
- Click the gear wheel and select Custom Attributes.
- Visure displays the full list of existing attributes with their type, access partition, scope, and default values.
Create a new attribute
Click Create to open the New Attribute wizard. The wizard has three steps.
Step 1 — Type selection
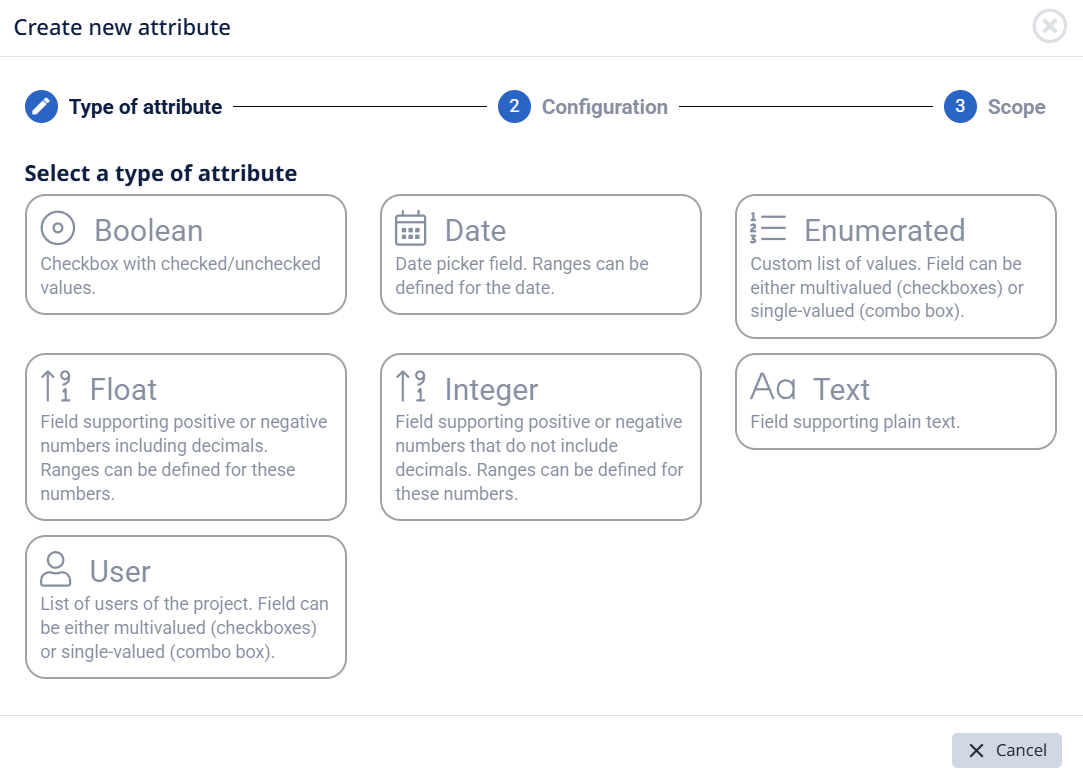
Choose the attribute type first. Available types are:
- Boolean — a true/false (checkbox) value.
- Date — a calendar date.
- Enumerated — a fixed list of values you define (e.g. High / Medium / Low).
- Float — a decimal number.
- Integer — a whole number.
- Text — free-text.
- User — a person from the project's user list.
Step 2 — Configure the attribute
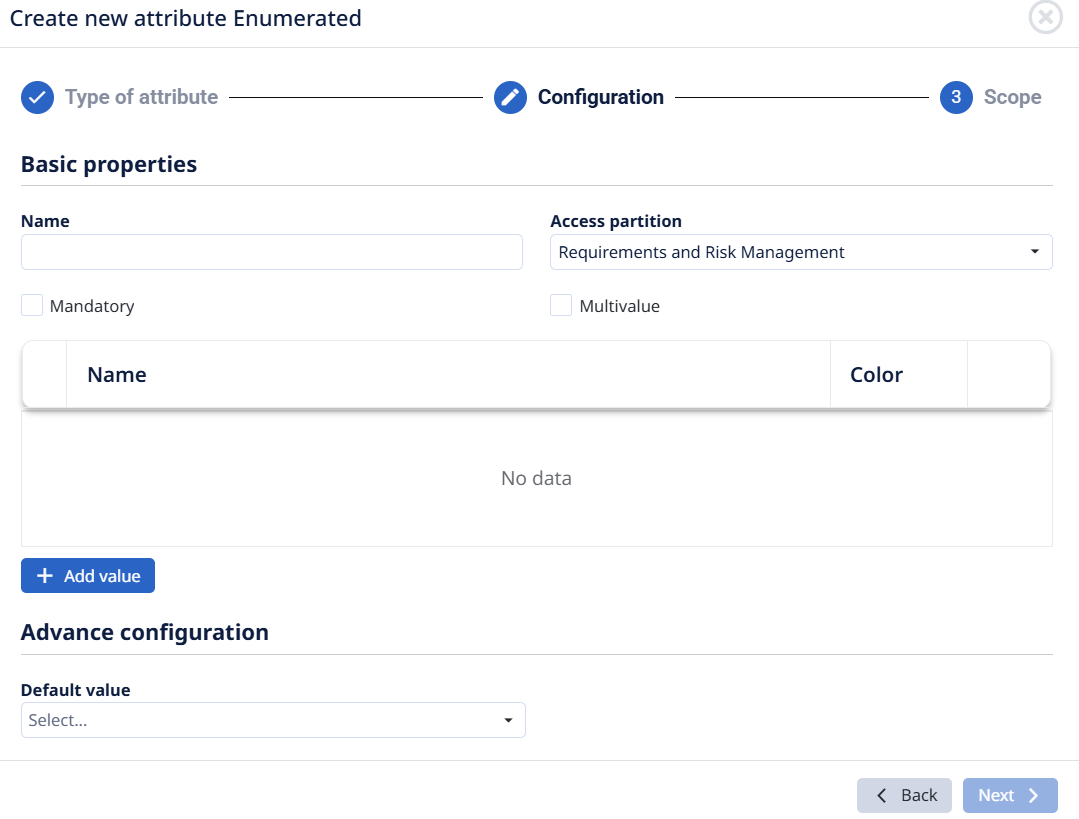
Depending on the type you picked, define:
- Name — what the attribute is called.
- Access Partition — which partition the attribute belongs to.
- Mandatory — if enabled, an item cannot be checked in until a value has been explicitly set.
- Multivalued — allows more than one value to be selected.
- Range / values — for enumerated types, the list of allowed values; for numeric types, any range.
- Default value — the value applied automatically when the attribute is first added.
Step 3 — Scope
Decide where the attribute applies:
- Set attribute as a property for all documents in the project — applies to the documents themselves, not the items inside them (e.g. document number, release).
- Apply attribute to all items in the project — applies to every item, but not to the documents.
- Apply attribute to all items inside the selected documents — applies only to the items in the documents you choose.
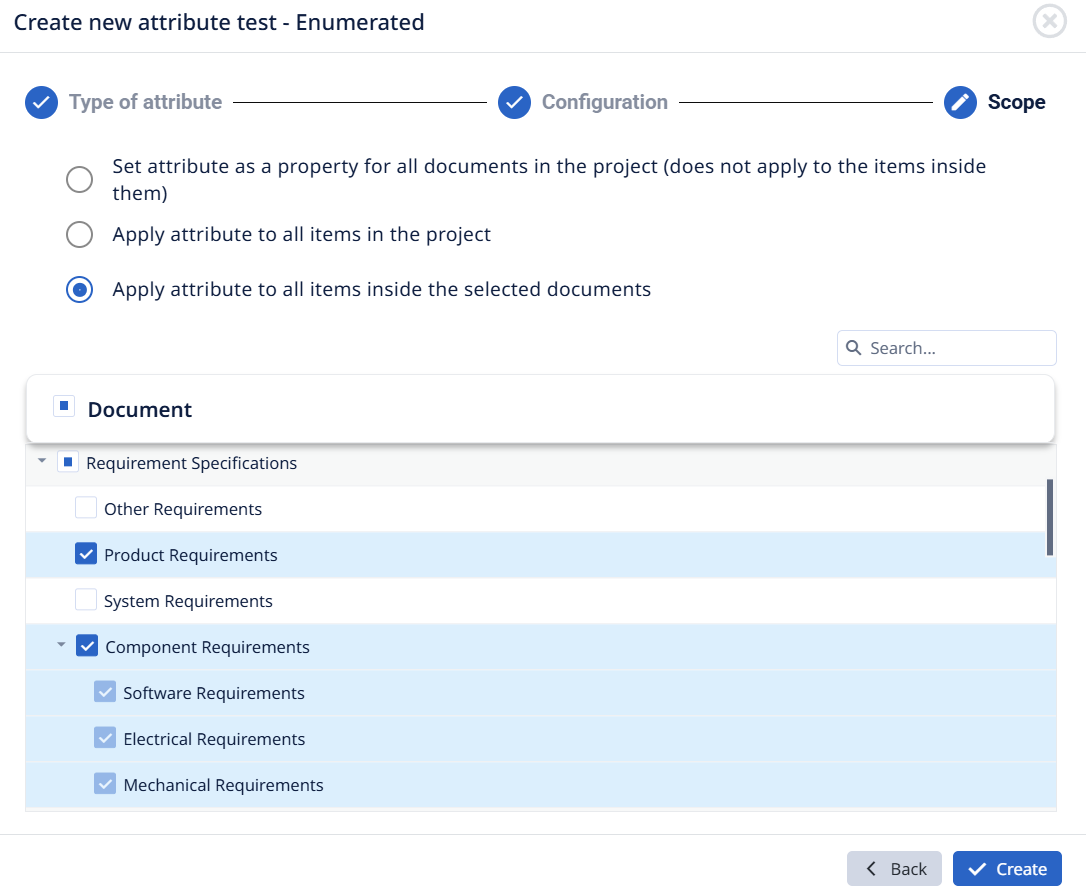
Finish the wizard to create the attribute.
Edit, duplicate, or delete an attribute
- Edit — click the edit button to reopen the wizard and change any setting. If the attribute isn't checked out, Visure checks it out automatically.
- Duplicate — click the duplicate icon to copy an attribute as a starting point for a new one.
- Delete — click the delete icon. Deleted attributes go to the recycle bin.
- Restore — click Restore deleted items at the top of the screen to recover or permanently destroy deleted attributes.

Check-in / check-out
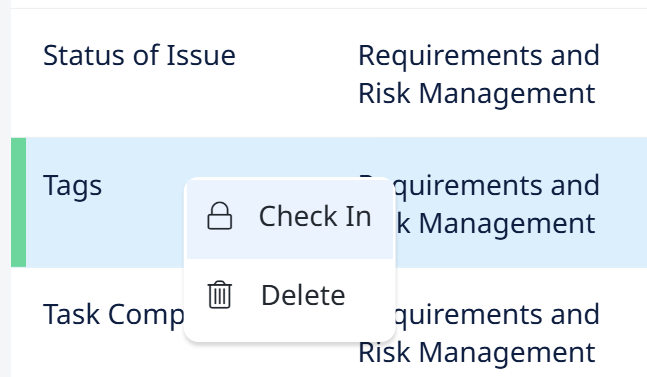
Attributes are versioned like any other element. You can check them in and out from the toolbar at the top or by right-clicking an attribute in the list. Changes aren't committed to the project until you check the attribute in.