
Creating traceability links
Traceability is how items in your project connect to one another — a requirement traces to its parent stakeholder need, a test traces to the requirement it verifies, a defect traces to the requirement it broke. These connections form the backbone of requirements engineering and are central to most safety-critical certifications.
There are three ways to create a traceability link between items.
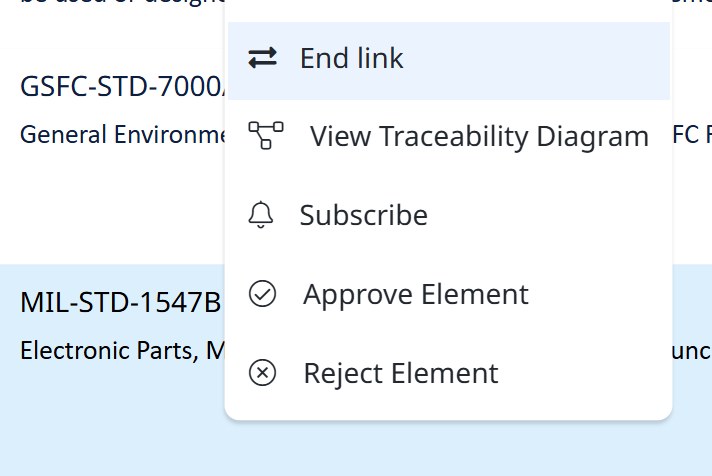
Method 1: Start Link → End Link
The most direct way. You designate one item as the start of the link and another as the end, and Visure connects them.
- Right-click the source item (where the link starts from) → choose Start Link.
- Navigate to the target item — it can be in the same document, a different document, or even a different access partition (provided you have read access).
- Right-click the target item → choose End Link.
- A dialog asks which link type to use. The options come from your project's data model.
- Pick the link type and confirm.
The link is created. It now appears in both items' Linked Items tab — as an outgoing link on the source, and as an incoming link on the target.
If the data model doesn't allow a link between these two item types, End Link operation will fail with an explanation.

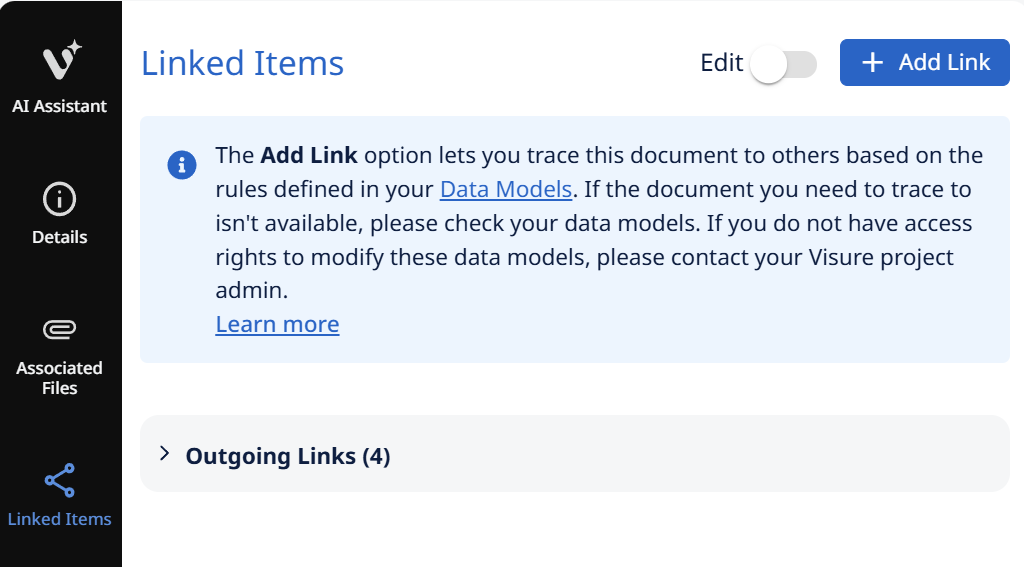
Method 2: Add Link from the Linked Items tab
If the source item is selected and the Linked Items tab is open in the Properties Panel, you can add links directly from there.
- Click Add Link in the Linked Items tab.
- Pick the target item from the selection dialog.
- Choose the link type.
- Confirm.
Same result as Method 1. Use this approach when you're already in the Linked Items tab and want to add several links from one source item without leaving it.
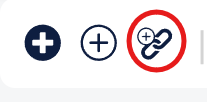
Method 3: Add Related (data-model-driven)
If your project's data model defines a relationship for the selected item's type, the Add Related button creates the new related item AND the link in a single step. This is covered in Section — Creating items.
After the link exists
A traceability link is bidirectional in visibility but directional in meaning. Once created:
- The link appears as an outgoing link in the source item's
Linked Itemstab. - The same link appears as an incoming link in the target item's
Linked Itemstab. - Either side can navigate to the other by clicking the linked item.
- To remove the link, select it in the
Linked Itemstab and clickRemove Link. It doesn't matter which side you initiate from — the link is removed from both ends.