Import from Word
You can import content from external files to create new documents or update existing ones. Import handles Word, Excel, and ReqIF (add-on), and walks you through a wizard to turn document content into Visure items.
Start an import
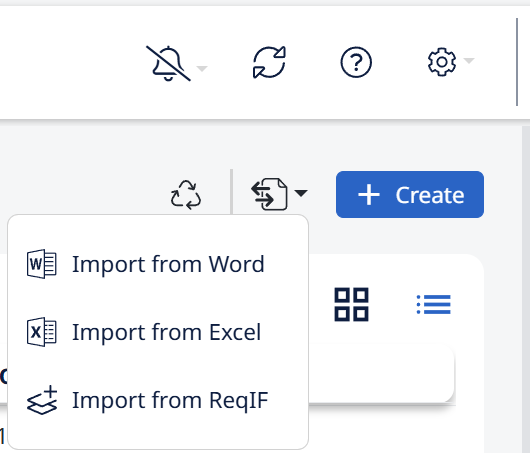
- Click Import at the top right of the Documents view.
- Choose the source: Import from Word, Import from Excel, or Import from ReqIF.
- Choose where the file comes from: local files or Google Drive (Google Drive requires granting Visure access; on-premise installs may need server-side configuration).
The wizard opens with a preview of your document on the left and the configuration on the right.
Word: capture heading styles (optional)
If Visure detects heading styles, you can turn the document's headings into items. You can Skip this step, or configure three things:
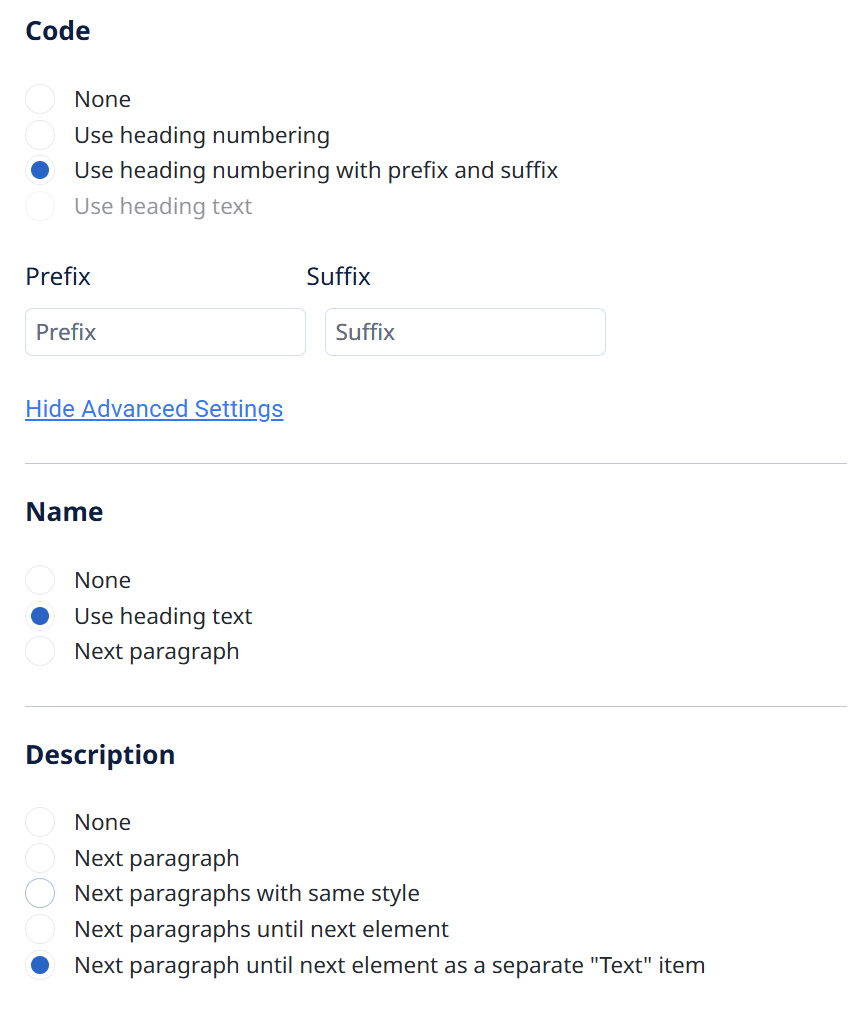
Code — whether the document's heading numbering (1, 1.1, 1.1.1, 2, 2.1…) becomes the item's code:
- None, Use heading numbering, Use heading numbering with prefix and suffix, or Use heading text.
Codes must be unique in Visure — duplicates aren't allowed. If you import several documents that share the same numbering (all starting 1, 1.1, …), you'll get collisions. Add a prefix and/or suffix to keep codes unique. Adding a prefix is the usual choice.
Name — None, Use heading text, or Next paragraph. For example, a heading "1. Introduction" becomes code 1 (plus any prefix) and name Introduction.
Description — None, Next paragraph, Next paragraphs with same style, Next paragraphs until next element, or Next paragraph until next element as a separate "Text" item.
Word: capture items
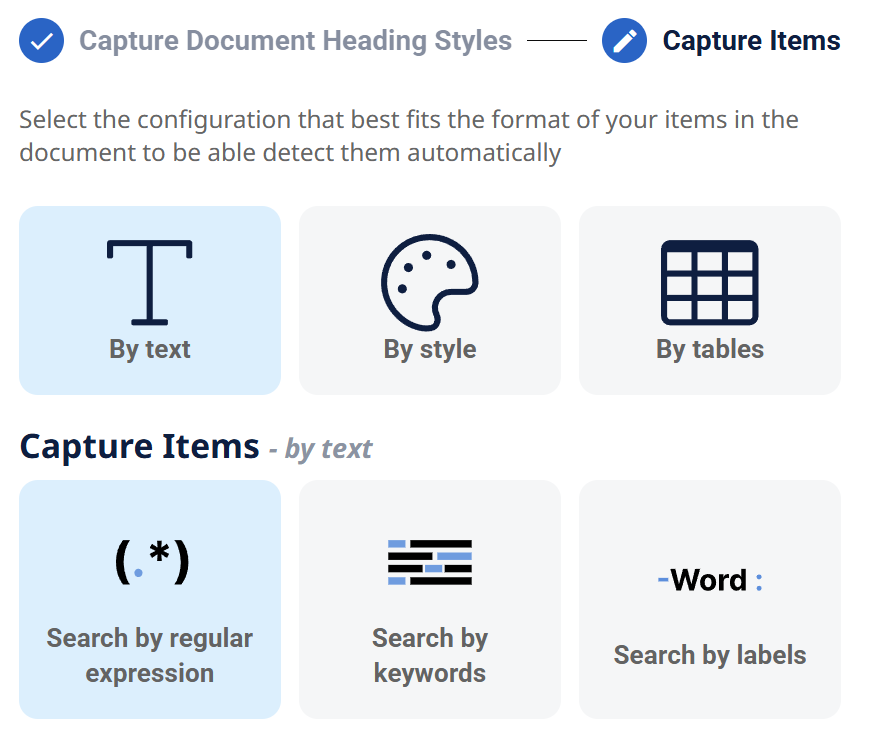
Next, tell Visure how to identify the actual requirements. Three methods:
By text
- Regular expression — match requirement codes/IDs by pattern. Enter a few example IDs and click Generate regular expression to build it for you.
- Keyword — identify requirements by a word such as shall.
- Labels / tags — tags added manually in the Word document to mark what to import.
By style — match a Word paragraph style. Assign one style to all requirements in Word, then select that style here so Visure picks them up.
By tables — for requirements laid out in tables. Choose Columns (each item in one row) or Tables (each item in one table), then type the matching header names into the Code, Name, Description, and Documents fields, and list any custom attributes (one name per row).
Each method exposes the same kind of Code/Name/Description settings (Captured text, Paragraph numbering, Remaining text, and so on) so you can pin down exactly what gets captured. When ready, click Capture Items.
Preview, map, and import
These three steps are the same for every format.
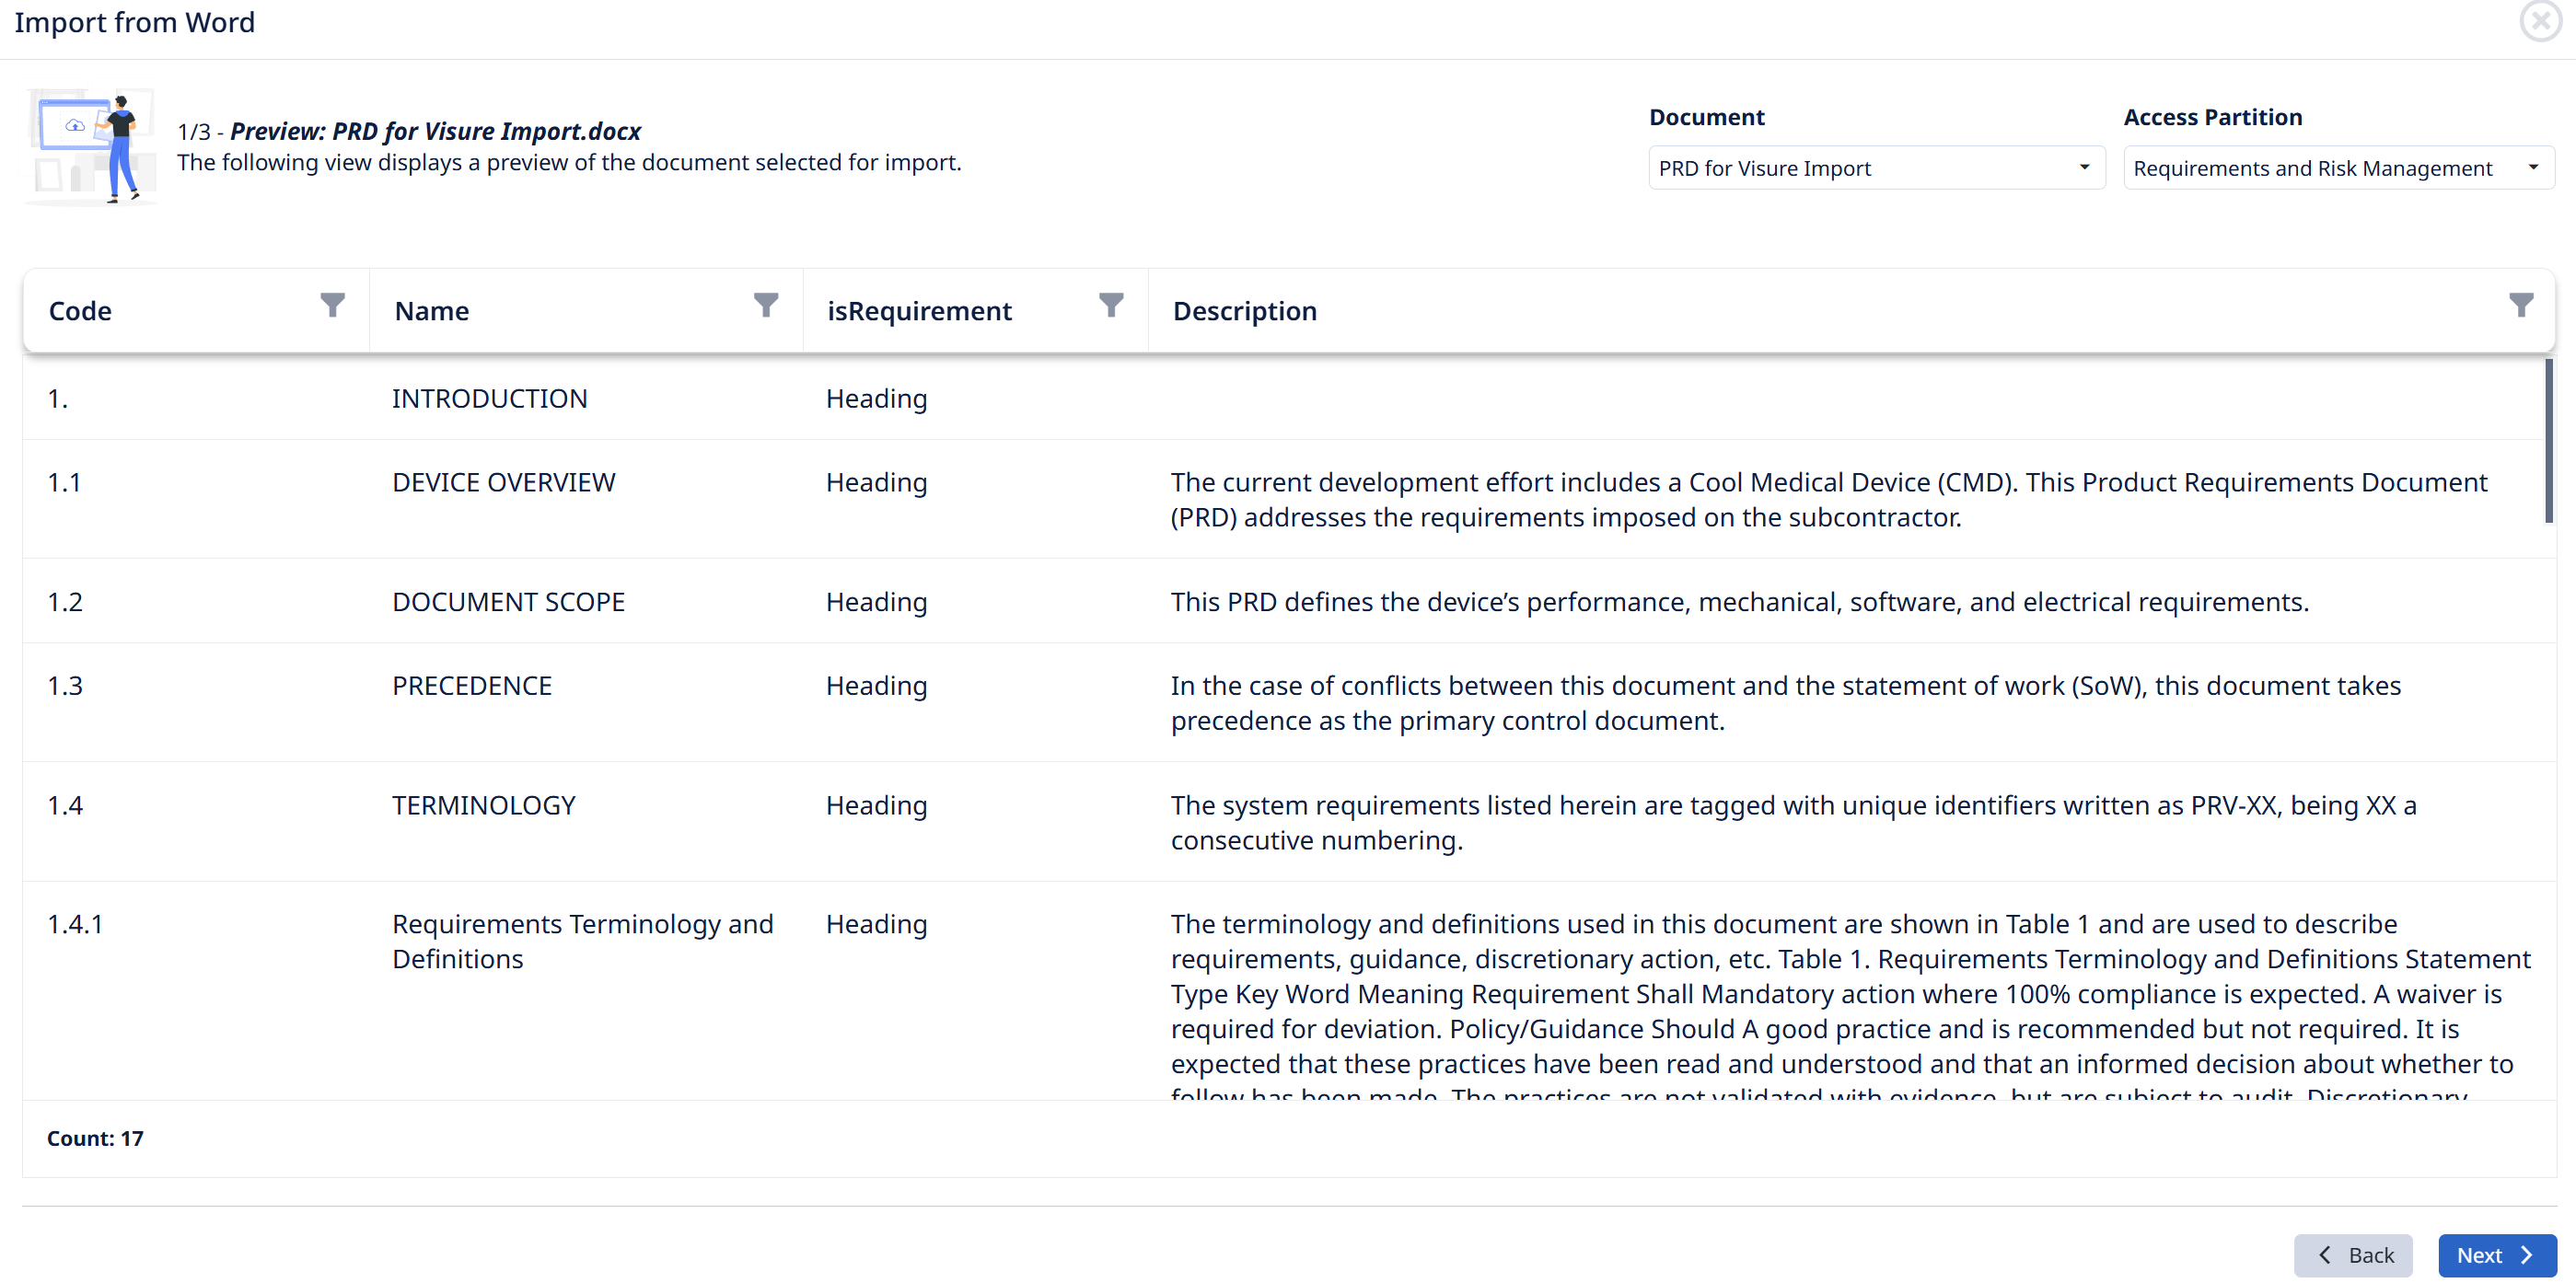
1/3 — Preview. The captured items are listed by row. Choose the destination Document (an existing one or create a new one) and the Access Partition for the new items. Per-column filter icons let you check the data first.
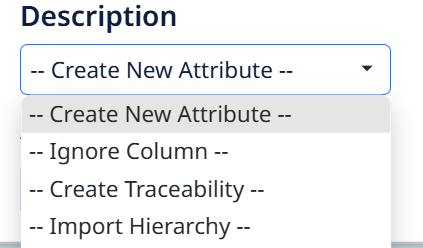
2/3 — Column mapping. Map each column to a Visure field. Open a column's combo box to map it to an existing attribute or choose Create New Attribute, Ignore Column, Create Traceability, or Import Hierarchy. Uncheck any row you don't want to import.
- Create New Attribute — pick the type and whether it's multivalued; make sure the type fits the values.
- Create Traceability — map a column of related-item codes; you pick the link type, and the direction is derived automatically from your data model.
- Import Hierarchy — map a numbered column (1, 1.1, 1.2…) to bring in the item hierarchy and sorting.
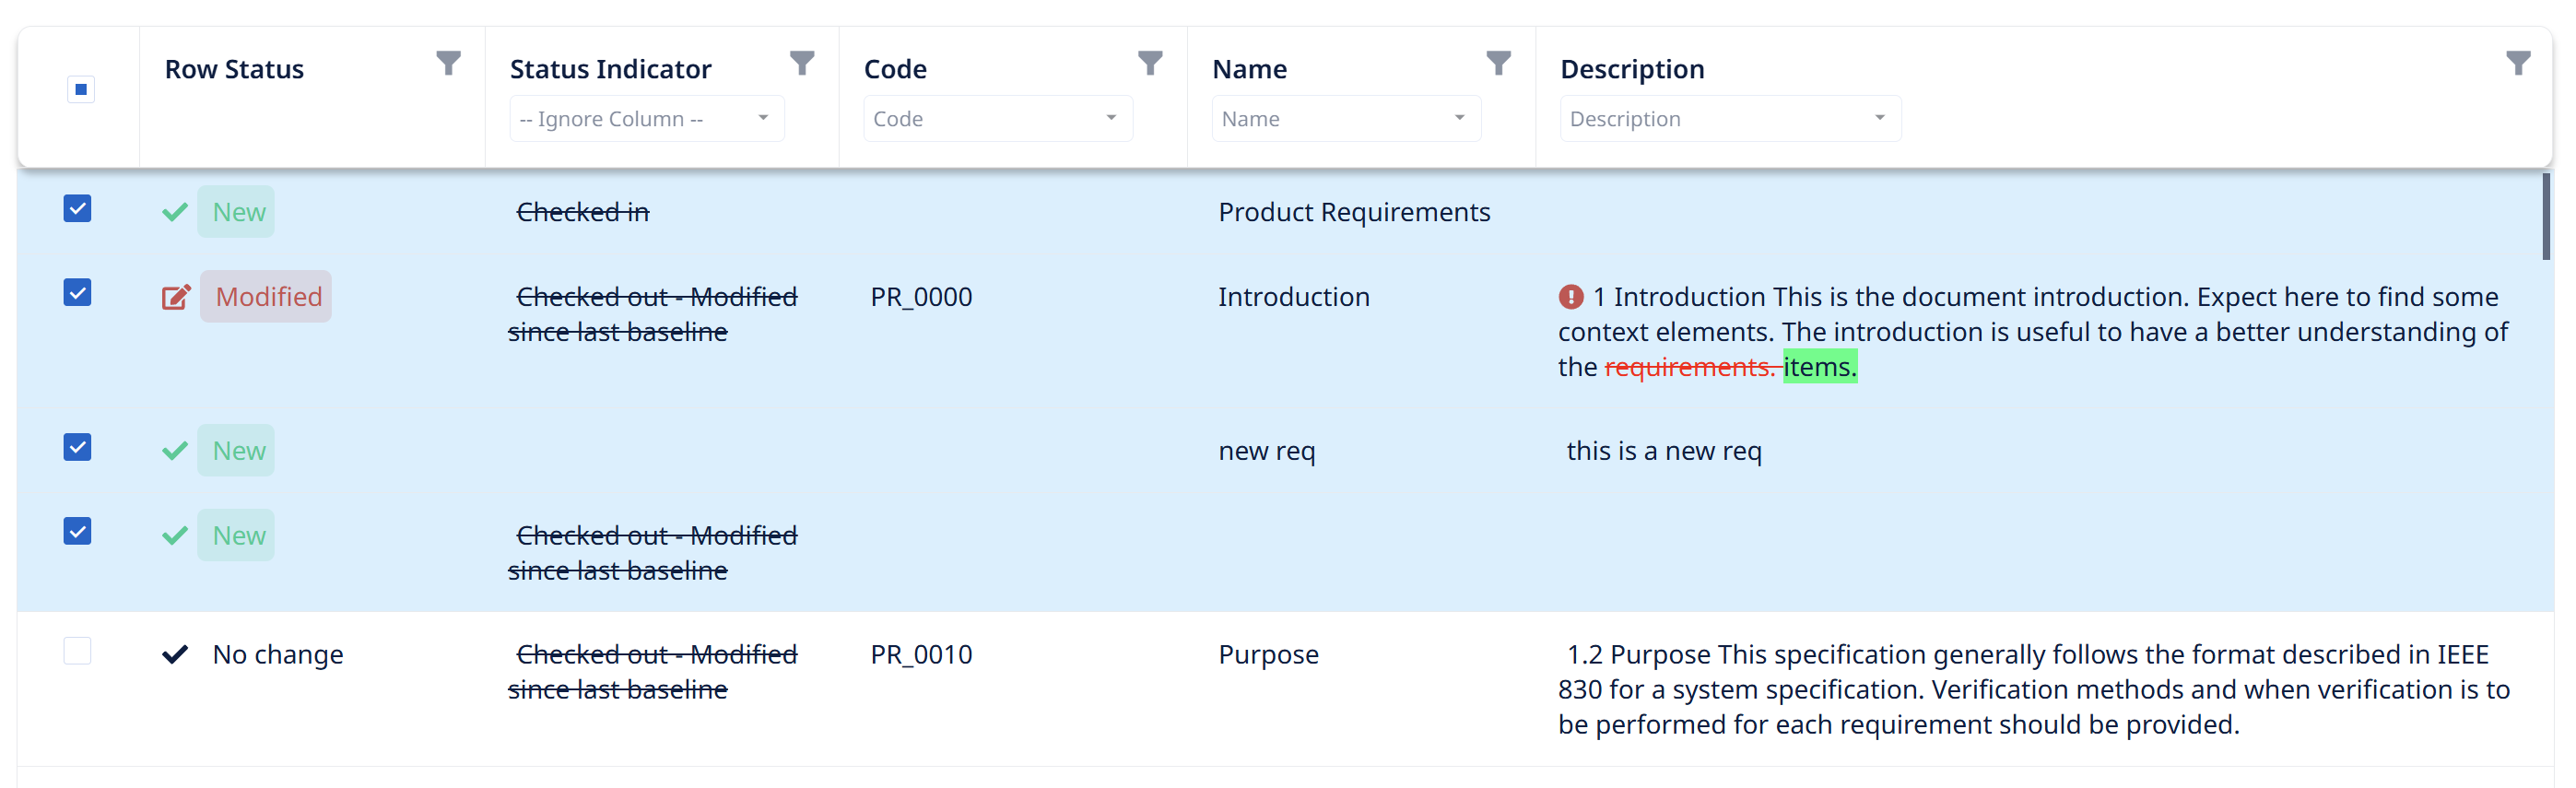
3/3 — Import items. A final confirmation showing each item's Row Status, compared by Code against what's already in Visure:
- New — not yet in Visure.
- Modified — exists, but an imported field changed.
- Deleted — in Visure but not in the file (only removed if you check it).
You can Export to Word to keep a record of the comparison before committing. Select the items to import or update and click Start Import.

The import runs in the background with progress in the notifications area, and notifies you when done. If it finishes with warnings or fails, click on the bell… for details.