
Creating users
Visure supports multiple authentication systems, including a proprietary Visure Authentication system, Azure Entra ID, OIDC protocol and Windows users. The authentications systems may be enabled or disabled from the Visure Server Settings (please refer to the user manual of this component for further information). The only authentication system enabled by default is the Visure authentication system.
It is possible to combine multiple authentication systems at the same time, for instance, if the users of the organization are part of the Azure Entra ID user management system, but we need to invite suppliers to participate in a given project, and these users are not part of our Azure Entra ID system. In this case, we would be able to combine Visure and Azure Entra ID users.
IMPORTANTE NOTE: Two Visure Requirements users cannot be created in the Visure database with the same login and the same user Management System, even if one of them has been deleted. A username can only be reused if the original user has been destroyed from the database.
However, it is possible to create different Users in a Visure database with the same login, as long as these Users belong to different User Management Systems.
In order to create users, click on the Add user button. A dialog window will appear where the user will be able to select the user type:
Azure Entra ID Users
These are users of your own Azure Entra ID Directory. The integration with Azure Entra ID allows Visure administrators to search their own directory and provision Visure with these users. When these users try to log in to Visure, they will be able to click on “Use Single Sign-On (SSO) instead”, which will redirect them to Microsoft’s login page for authentication, using whatever mechanisms your organization may have configured for it such as MFA.
IMPORTANT NOTE: To enable the integration with Azure Entra ID, the first step is to configure Azure Active Directory. Please refer to Annex A. Configuration of Azure Entra ID to support provisioning and SSO for further information on how to configure Azure Entra ID.
After Azure Active Directory is configured, to create a User of this type, select the Azure Active Directory Users tab.
Visure Users
These are Users whose authentication mechanism is saved and managed by Visure. When selecting Visure user, a dialog box will appear where the user will be able to enter the necessary user information:
- First Name (optional)
- Last Name (optional)
- Telephone (optional)
- Email address (mandatory)
- User login (mandatory): this is the username the user will use to log in to Visure. It may be the same as the email address or different. The user login must be unique throughout the repository, including deleted users.
- Password: The password strength may be defined in the “Visure User Password Settings” tab. This password is a temporary password for the user, who should change it afterwards.
Azure Entra ID Users
These are users of your own Azure Entra ID Directory. The integration with Azure Entra ID allows Visure administrators to search their own directory and provision Visure with these users. When these users try to log in to Visure, they will be able to click on “Use Single Sign-On (SSO) instead”, which will redirect them to Microsoft’s login page for authentication, using whatever mechanisms your organization may have configured for it such as MFA.
IMPORTANT NOTE: To enable the integration with Azure Entra ID, the first step is to configure Azure Active Directory. Please refer to Annex A. Configuration of Azure Entra ID to support provisioning and SSO for further information on how to configure Azure Entra ID.
After Azure Active Directory is configured, to create a User of this type, select the Azure Active Directory Users tab.
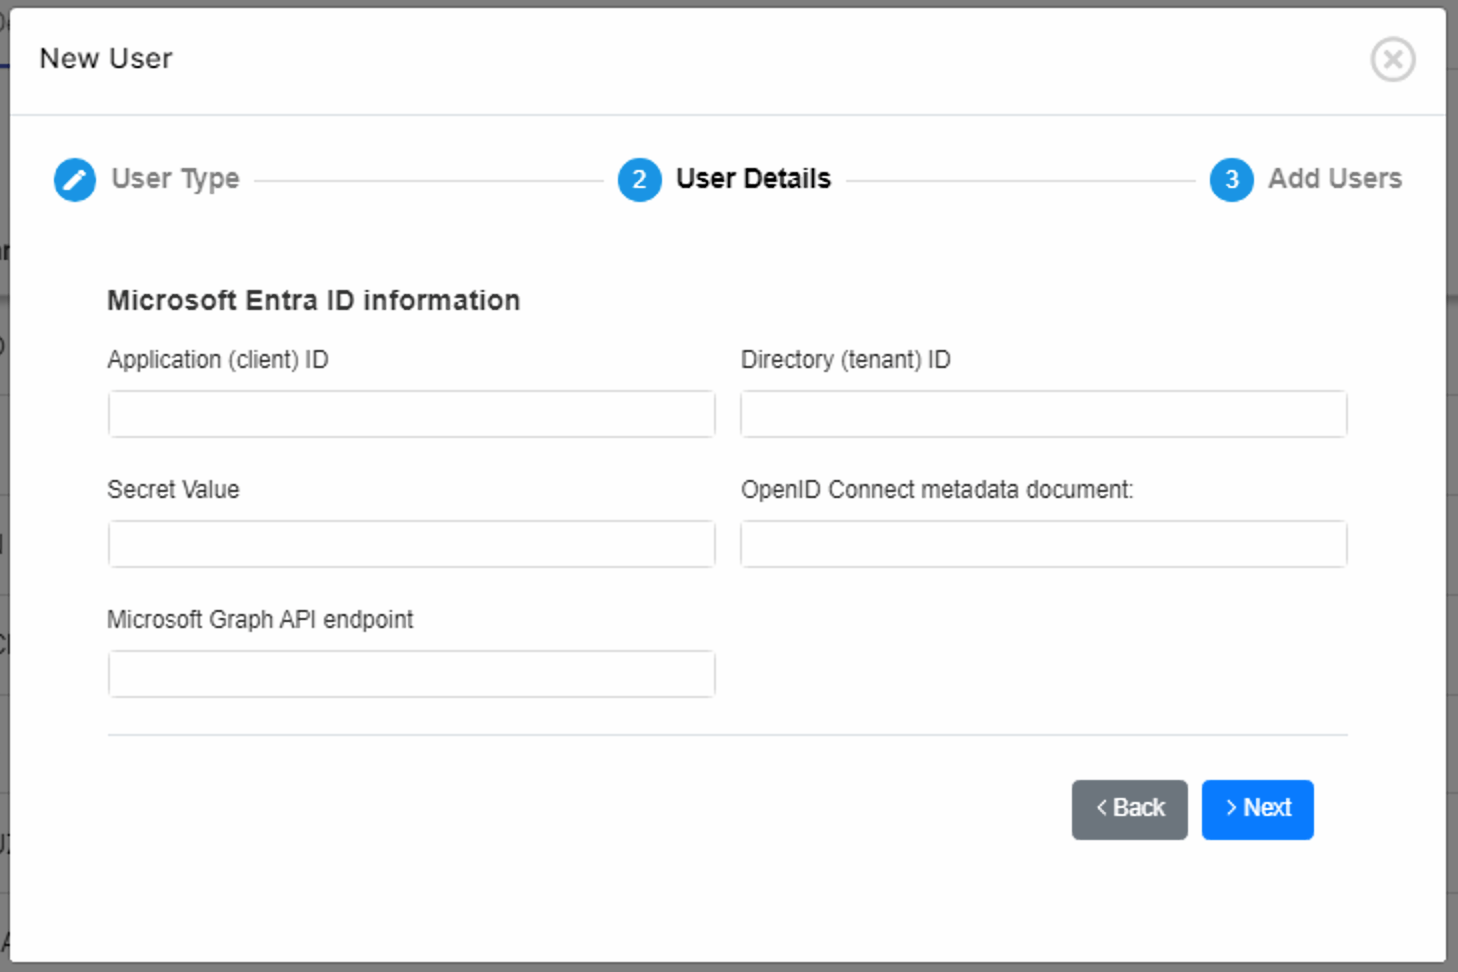
Fill in the form with the corresponding information from your Azure Entra ID instance and click on Next to see a list of users.
Users in Entra ID may be categorized by groups. You may select from the combo box at the top of the window to visualize all the users from that group.
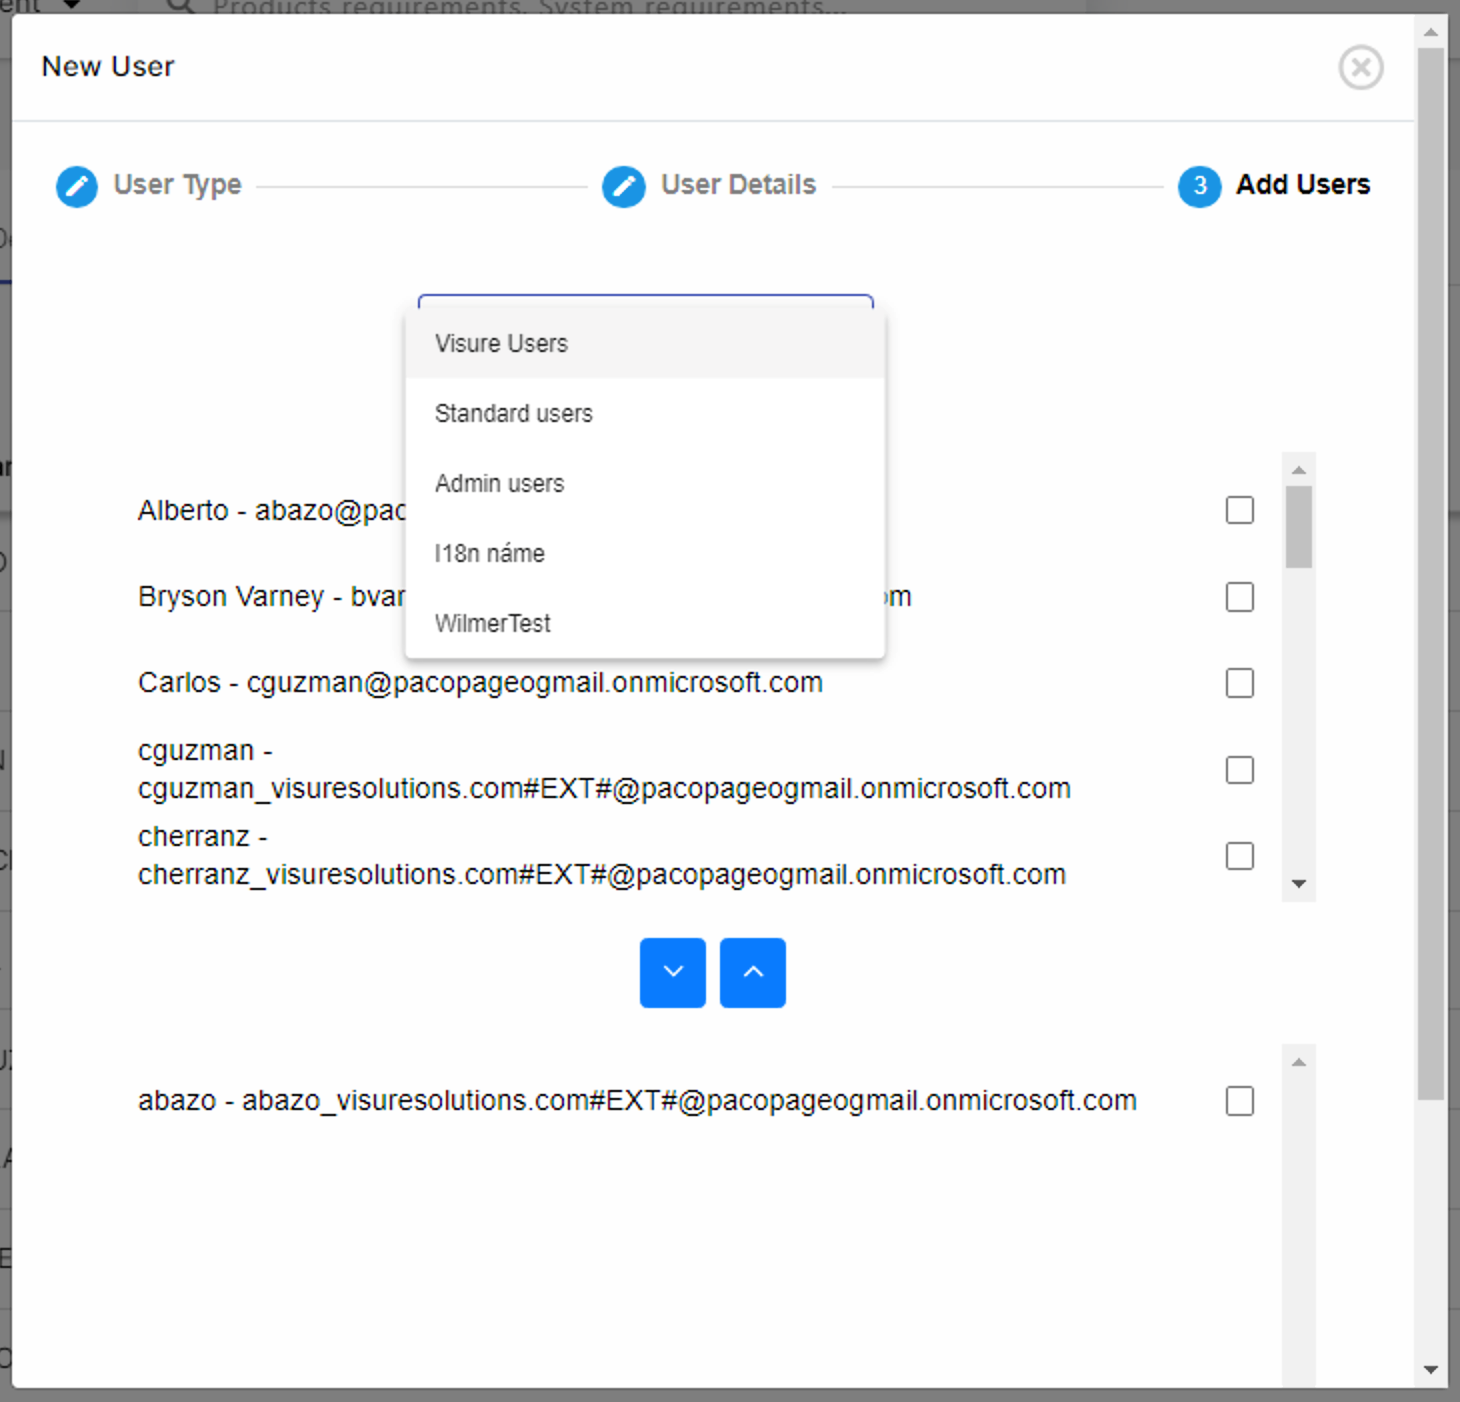
Select the users you would like to add/remove to Visure and click on 
Once you´ve added all the users, click on the Create button ( 
IMPORTANT NOTE: The Azure AD authentication process will be available for users only if it is enabled in Visure Server (see Visure Requirements ALM 8 Server User Manual).
OpenID Connect Users
Most modern authentication applications use OIDC (OpenID Connect) protocol. Visure uses this protocol to connect with providers such as Microsoft, Google, Amazon and Okta, among many others.
IMPORTANT NOTE: Open ID Connect Users can only be added manually one by one. It is not possible to import them from an external source.
Fill in the form with the corresponding information from your OIDC provider and click on Create to create the corresponding user in Visure.

OpenID Connect Users can also be added to the Visure database directly when the user tries to connect to Visure client for the first time. This auto provisioning of users can be configured in the Visure Server Settings. Please refer to the user manual of this component for further information. If auto provisioning is configured, when the user logs in for the first time, the user will appear automatically in the list of users in Visure database. Personal and Connection Data will have been imported from the authentication system as appropriate. The administrator can update manually the data, which can be used to complete it in case not all of it is imported; data that are imported from the authentication system will be updated every time the user connects to Visure.
IMPORTANT NOTE: Notice that auto provisioned OpenID Connect users will not be able to open any project by default until an administrator assigns them to one.
Validation of these Users is delegated upon the OIDC provider used in the company, which should have been enabled in Visure Server.
To be able to create this type of user, the first step is to configure the OIDC provider. Let’s see two examples, Google and Okta.
Windows Users
These are Users of a Windows Domain. These Users are imported from the Windows Domain selected and registered in the Visure database. Validation of these Users is delegated upon the actual Windows Domain that manages them.
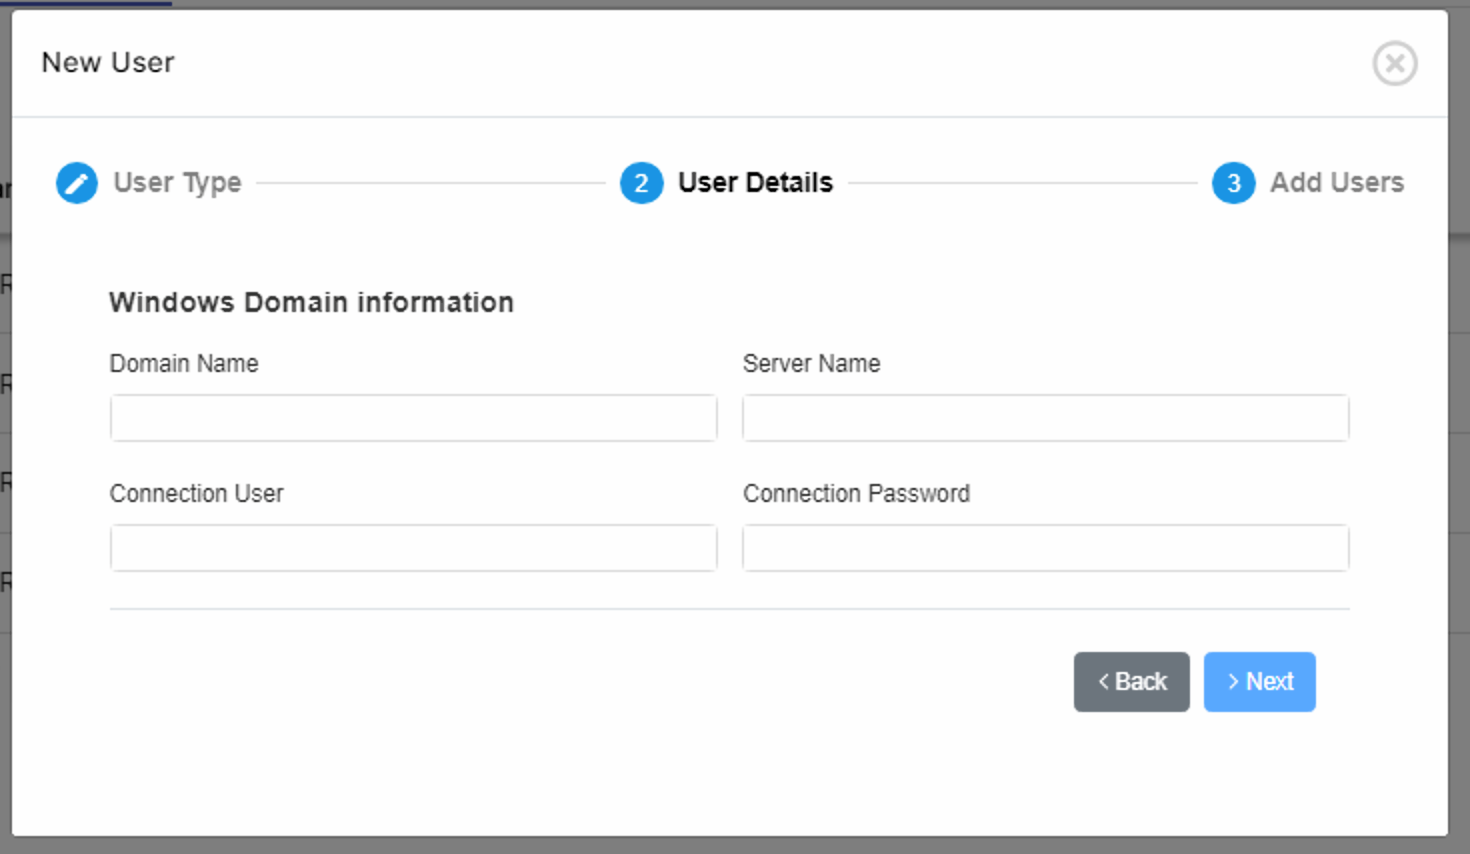
To create a User of this type, fill in the information related to the Windows Domain where the users are located and click on Next.
Select the users you would like to add to the Visure database and click on 
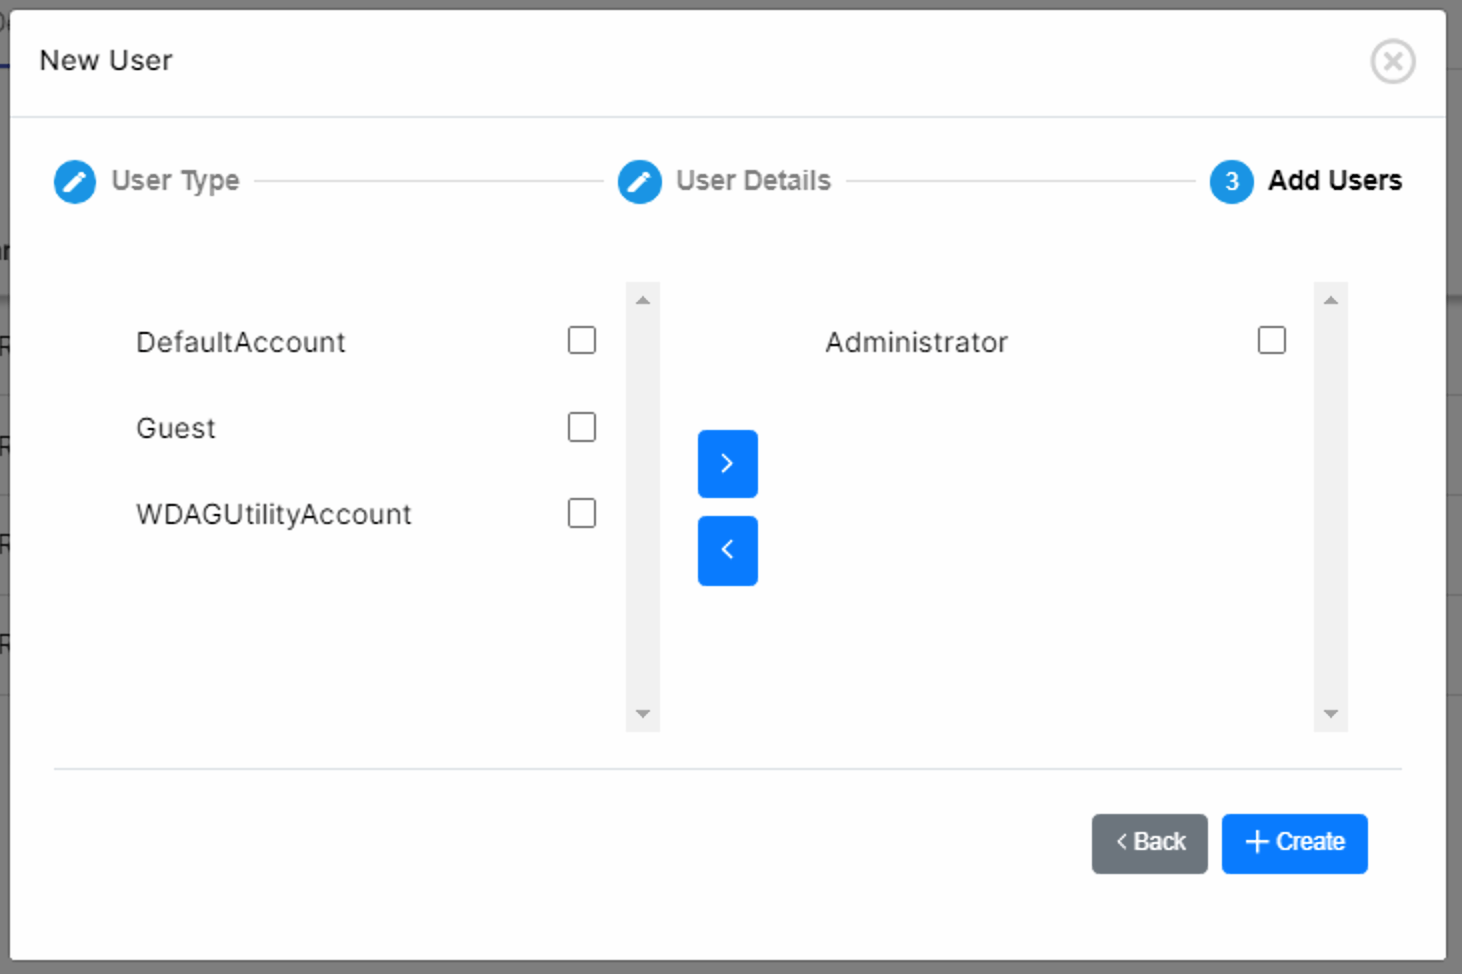
The selected Windows Domain users will be added to the Visure database.