
Microsoft Entra ID configuration for Visure
Microsoft Entra ID is a cloud-based identity and access management (IAM) service that provides authentication and authorization for users, groups, and devices to access cloud and on-premises applications and resources.
Visure supports Microsoft Entra ID and allows importing users from it, but a configuration is required for this purpose.
The following article explains how to configure Microsoft Entra ID to work with Visure. Please, make sure that the same configuration is applied on your end.
1. App Registration
In order to have users from Entra ID, the first step is to create a new “App registration”.
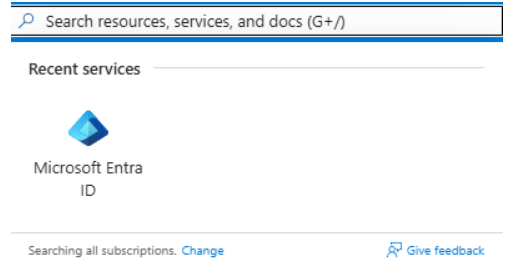
In the Search Bar, look for “Microsoft Entra ID”:
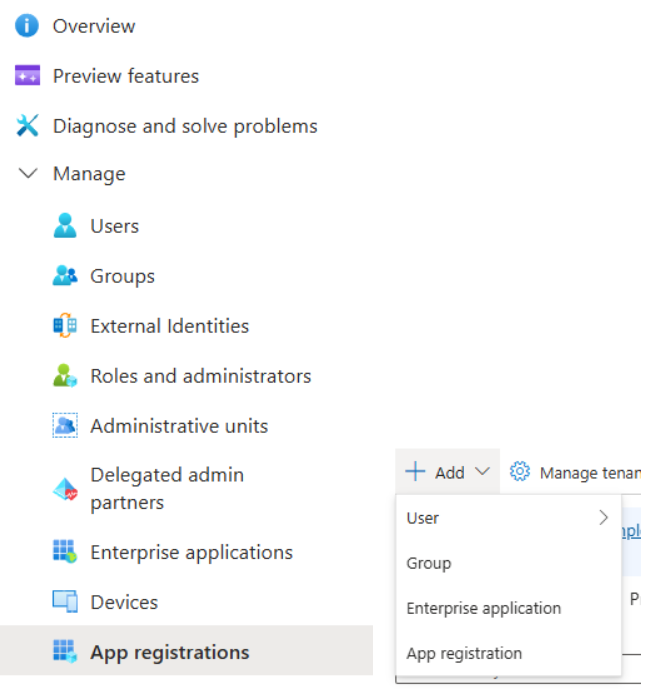
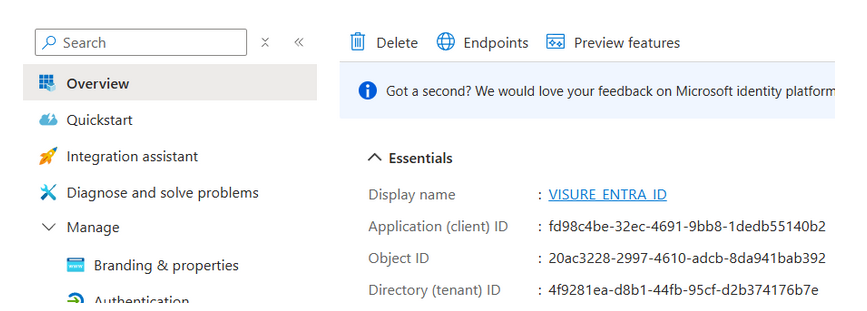
This will bring directly to the Overview, by expanding “Manage” or clicking on “+ Add”, the app registration option will be displayed.
After app registration is selected, a name is required for it (e.g., VISURE_ENTRA_ID).
For the Redirect URI, use “Single-page application (SPA)” with the Redirect URI as the following value:
- https://<server-name-or-FQDM>/VisureAuthoring8 (must be HTTPS)
Notice that in the URL used “VisureAuthoring8” contains the number 8 which represents the mayor version installed. You need to use the corresponding number or URL base on your own installation.
To finish creating the app registration, click on “Register”.
Remember that this can also be configured later if you don't have already configured or installed Visure Authoring.

2. Authentication
The “Authentication” configuration is required to allow users to successfully log in to the application.
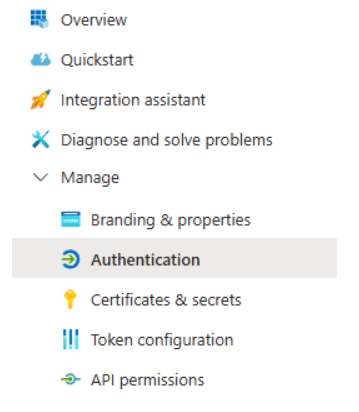
After the app registration is created, expand “Manage” and go to the “Authentication” section.
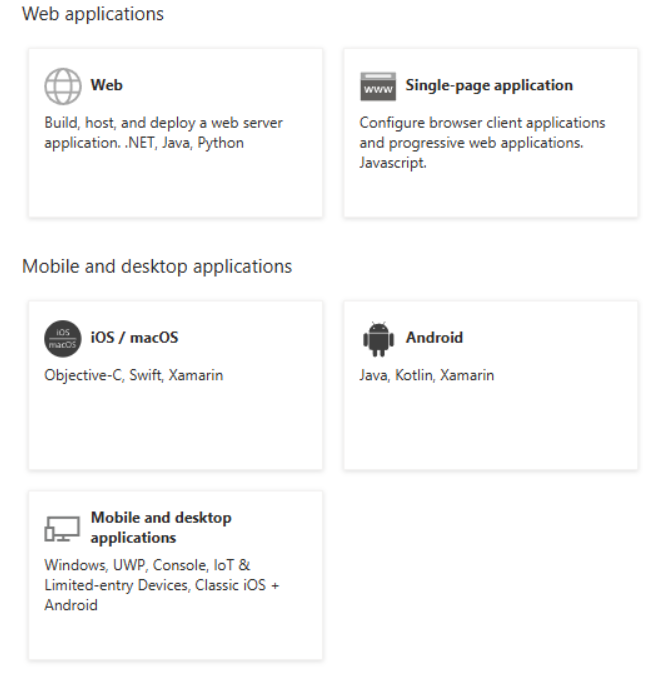
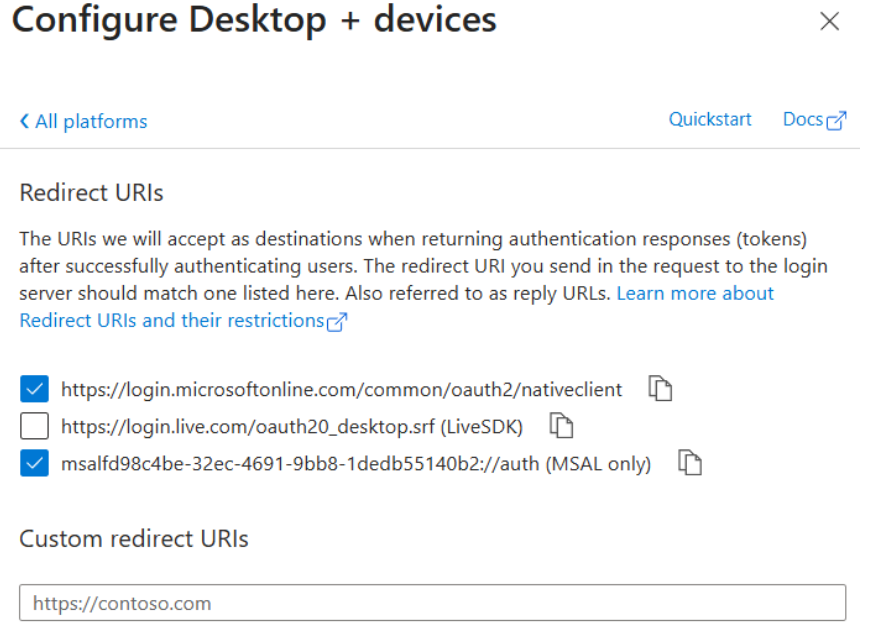
In this section, click on “Add platform” () button below “Platform configurations”, then select Mobile and desktop applications.
In the Redirect URIs, select the same in the image below:
Additionally, add the following in the “Custom redirect URIs”:
- ms-appx-web://microsoft.aad.brokerplugin/client_id (where client_id is your Application ID)
The following image is an example of the full URI added:
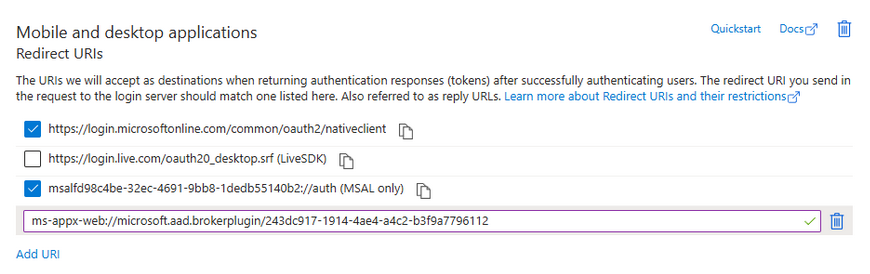
If you're done, click on “Configure”.
At this point, a new platform has been added, now is required to enable an option.
Scroll to the bottom until “Implicit grant and hybrid flows”. Here, two checkboxes are available but only the second needs to be enabled (see below options or image):
- Access tokens (used for implicit flows)
- ID tokens (used for implicit and hybrid flows) - THIS IS REQUIRED TO BE ENABLED
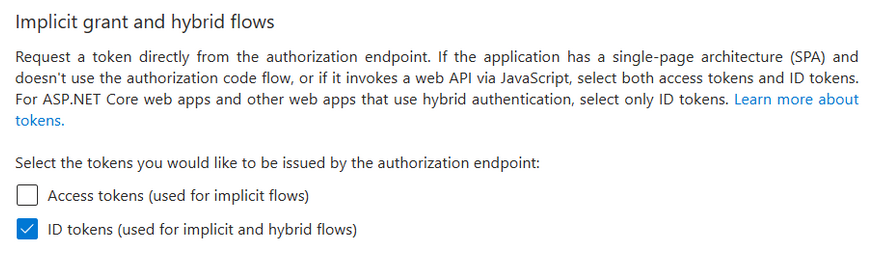
After the changes were made, click on “Save” (
3. Certificates & secrets
For the configuration, a secret needs to be created, this can be done in the “Certificates & secrets” section. This section is below the Authentication section.
Before continuing, please save the information that is about to be created on a secure place, this could be a password manager, vault, or any application of your preference. The secret is required to import users from Entra ID to Visure.
Now, make sure that you are in the “Client secrets” tab (
In this tab, click on the “New client secret” (

The new secret should be now visible, do not refresh the browser until you confirmed that the value is saved.
If you try refreshed the browser, this value will be no longer visible, and will be replaced for a few asterisks:

4. API Permissions
A few permissions are required to retrieve any user group, as well as the whole list of users. This section is in the same “Manage” category, below “Token configuration”.
By default, a “Microsoft Graph - User.Read” permission is enabled. To enable the permissions needed, click on “+ Add a permission” (
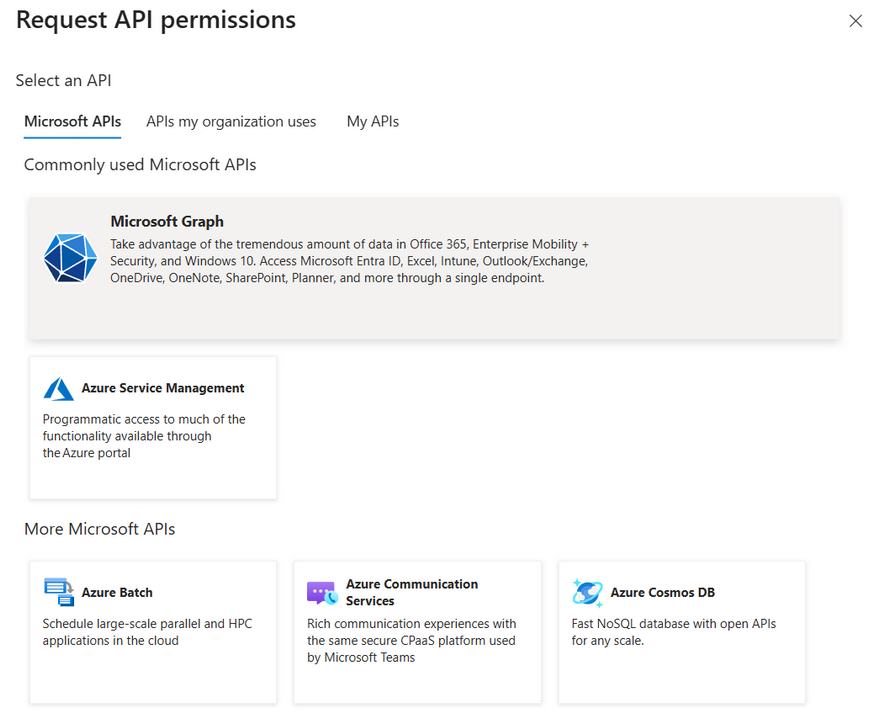
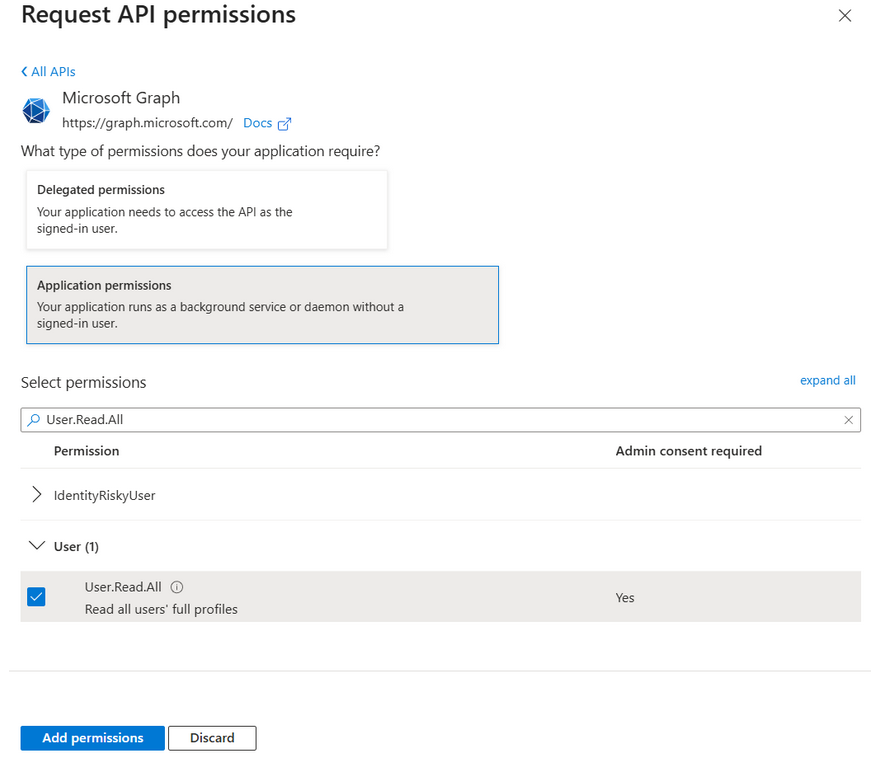
After selecting Microsoft Graph, choose Application permissions and search for User.Read.All permission.
Now, search for Group.Read.All permission.
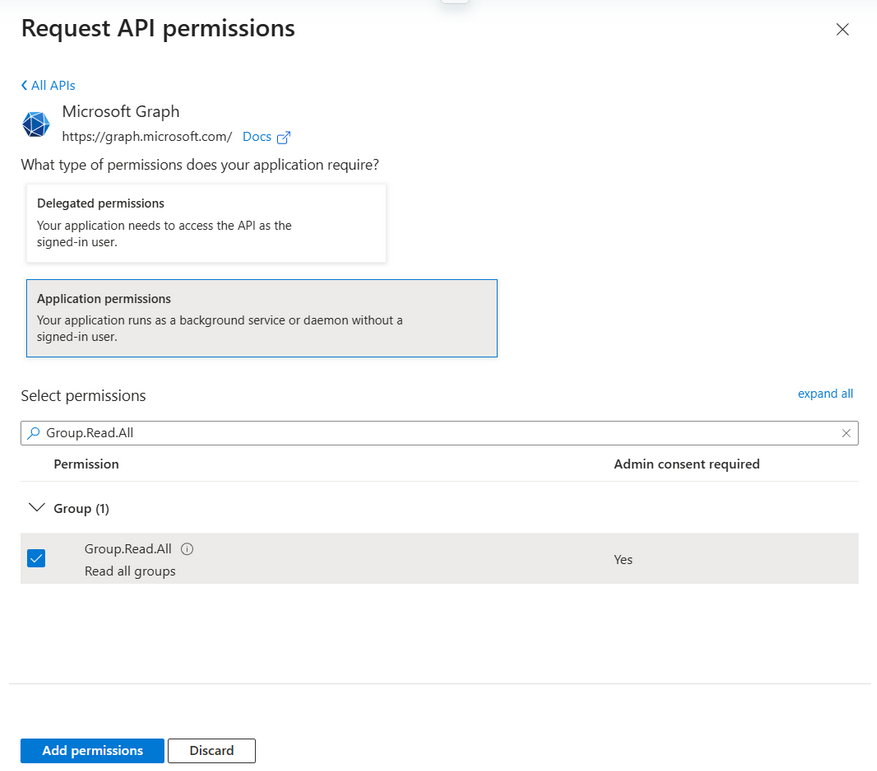
If both permissions were selected, click on Add permissions. A toast notification should say that those permissions were successfully saved.
At this point, the permissions were added, but those still require to be granted with admin consent for the directory. To grant this consent, click on the option above that says “Grant admin consent for <the-name-of-your-directory-or-tenant>”.

A new prompt will be displayed, click on Yes.

The result should be the same as the following table (or image):
| Permission Name | Type |
| Group.Read.All | Application |
| User.Read | Delegated |
| User.Read.All | Application |

4. Server Configuration
This is the last part in order to make Entra ID and Visure working together.
In the Visure Server Settings, go to the “Authentication systems” tab and click on the first button below (Add):
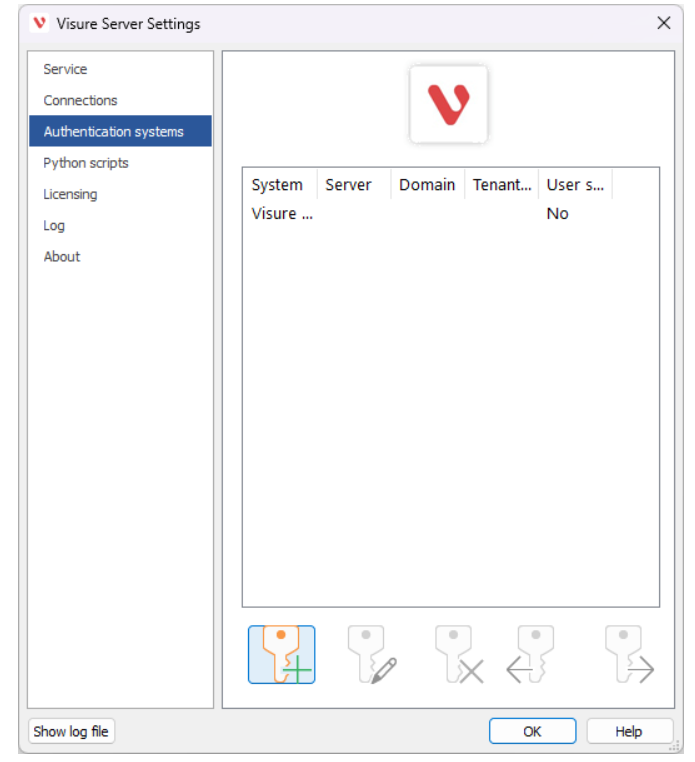
A new window will prompt, change the option in the dropdown to “Azure Entra ID users”.
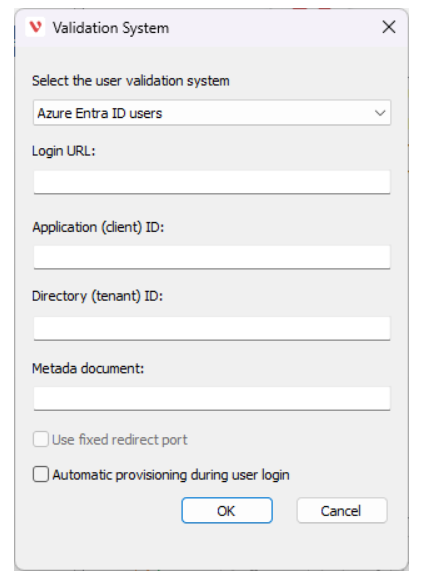
To fill the information, follow the steps below.
- Login URL: This is the Azure Entra ID Home page, typically https://login.microsoftonline.com/
- Application (client) ID: This value is the Application (client) ID of your app registration, you can found it in the main Overview.
- Directory (tenant) ID: This is the Directory (tenant) ID where you created the app registration. Is located near to the Application (client) ID.
- Metadata document: This information can be found in the Endpoints on your app registration.
A list of endpoints will be displayed, the endpoint below the name Microsoft Graph API endpoint is what you need for this first field.

After all fields are filled with the corresponding information, enable the option below.
- Automatic provisioning during user login: This option allows users to be automatically provisioned when they try to log in. After a user is auto provisioned, you still require assigning to the corresponding projects.
5. Import and Test User Access (optional)
This part is optional, but you can still verify that users can be imported, auto provisioned, and are able to log in to the Desktop and Web version of Visure.
5.1 Import Users
To test if you can import users from Entra ID to Visure, log in into the Administration Center or Authoring with an admin account.
5.1.1 Import using the Administration Center
Over the Users folder (
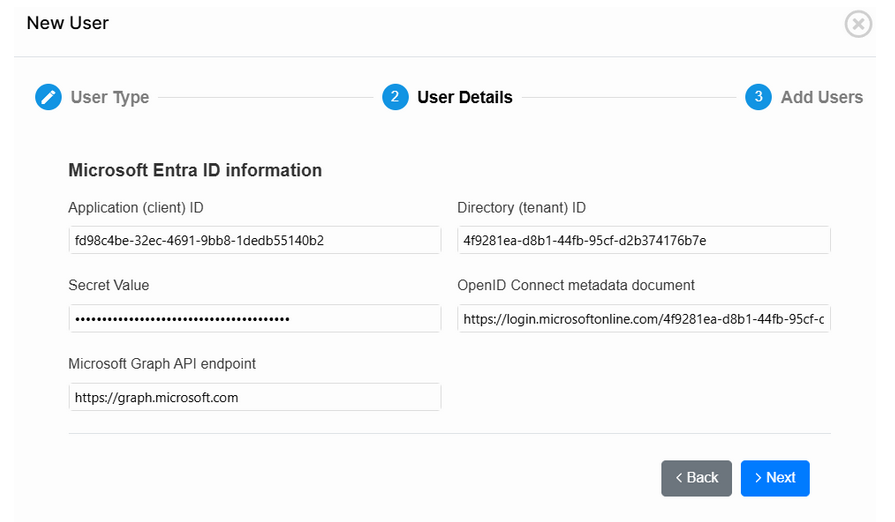
Now, fill each field with the corresponding information (all fields were mentioned before, except for OpenID Connect metadata document, which is also found in the Endpoints).

Notice that in the Secret value is the information that previously was created and stored in the section “Certificates & Secrets”.
If all fields are with the correct information, after clicking on the Group dropdown, the list of user groups will be displayed (as saw in the image before), meaning that it is possible to retrieve information. If you don't have user groups, you can still click on “Show Members” (bottom left corner), this will display all users from Entra ID.
After clicking on Show Members, users will be displayed in the top rectangle, use the arrows to move users that you would like to add/import. Then, click on Insert to add/import the selection of users that you want.
If you don't click on “Insert”, no users will be imported to Visure.
Now, you can manage your users by assigning to different projects and giving permissions over different partitions.
5.1.2 Import using Authoring
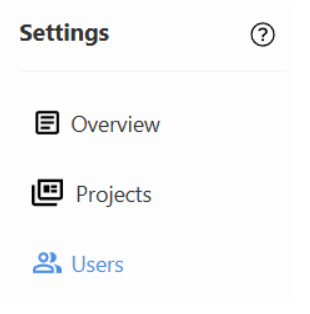
In Authoring (from 8.2 and upper versions), the Settings option is available for all admin users.
After selecting the Settings option, go to Users.
Here, click on “+ Add New User” (
Fill all fields with the same information described before.
Then, click on Next. If the information was correct, a list of users will be displayed automatically, you can still filter by groups.
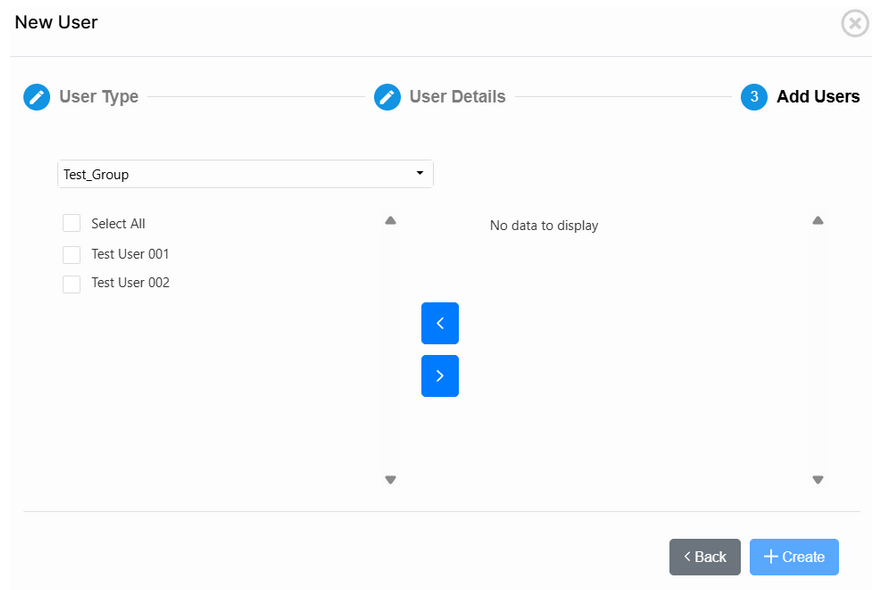
Use the arrows to select the users that you want to import, and finish the import by clicking on “+ Create”.
5.2 Test User Access
To test if users are able to log in into the application, execute the desktop app, or browse to the web page for Authoring.
5.2.1 Desktop Client
In Desktop, click on “Log In with Single Sign-On” (in the bottom of the login).
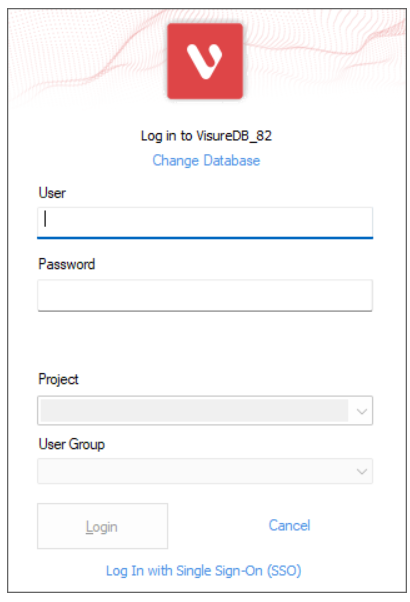
A new window should be opened asking the user the corresponding credentials. After this, the window will automatically close and the user should be able to log in to the corresponding assigned projects.

5.2.2 Web Client
In the Browser, in the login page, click on “Use Single Sign-on (SSO) instead” (below the “Continue” button).

A new browser window will be prompted asking for the corresponding credentials. After this, if the login was successful, you will be logged in automatically.