
Configuring/Editing a widget
The configuration of a widget can be accessed either during the creation of a widget or by clicking on the settings icon (
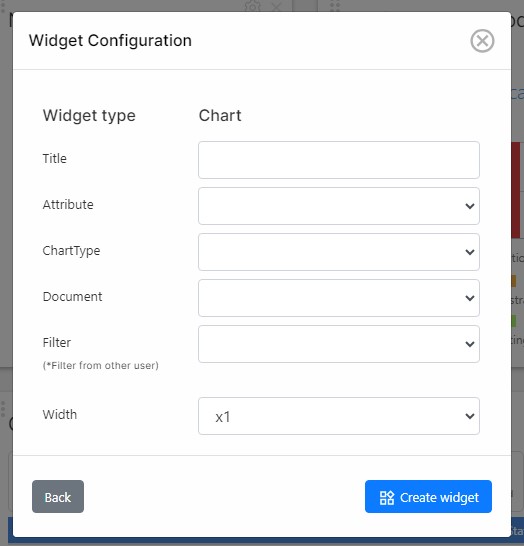
- Name: This is the name that will be displayed at the top of the widget
- Attribute(s): Most of the widgets will be based on attributes. This is the attribute that will be used for the calculation. For a user to be able to see the contents of a widget, it is necessary to have access to the attribute and the items.
- Document: Widgets can display the information particular to a specific document. If no document is selected, all the items in the project will be used for the calculation of the widget.
- Filter: Apart from displaying information on a document or not, it is also possible to filter the items that will be used for a widget. For instance, we may be interested in displaying the status of actual requirements in a document, opposed to headings. Or we may be interested in displaying the priority of only approved requirements. This can be determined by selecting a filter in this field.
NOTE: Filters selected in the widgets will be made available to other users so that they can visualize the same information.
- Width: The width is the number of columns that the widget will take. This might be useful when the attribute displayed in a bar or pie chart has a legend with many values.
Deleting widgets
Project managers can delete a Widgets by clicking on the delete button (X) at the top-right corner of the widget.
Rearranging widgets
Project Managers can rearrange the order of the widgets in the dashboards by simply clicking on the widget selector icon (